OPay PrestaShop Plugin
Throughout this page, you will learn how to install, configure, and activate the OPay payment plugin in your PrestaShop store. After following closely the steps explained below, your PrestaShop shop will be able to start accepting payments through OPay's payment channels.
Store Preparation
The OPay payment integration with PrestaShop is simple and we've provided easy steps to help you get up and running!
Make sure you have an active OPay account or you can create an account.
You need to log in to Dashboard.
- Get
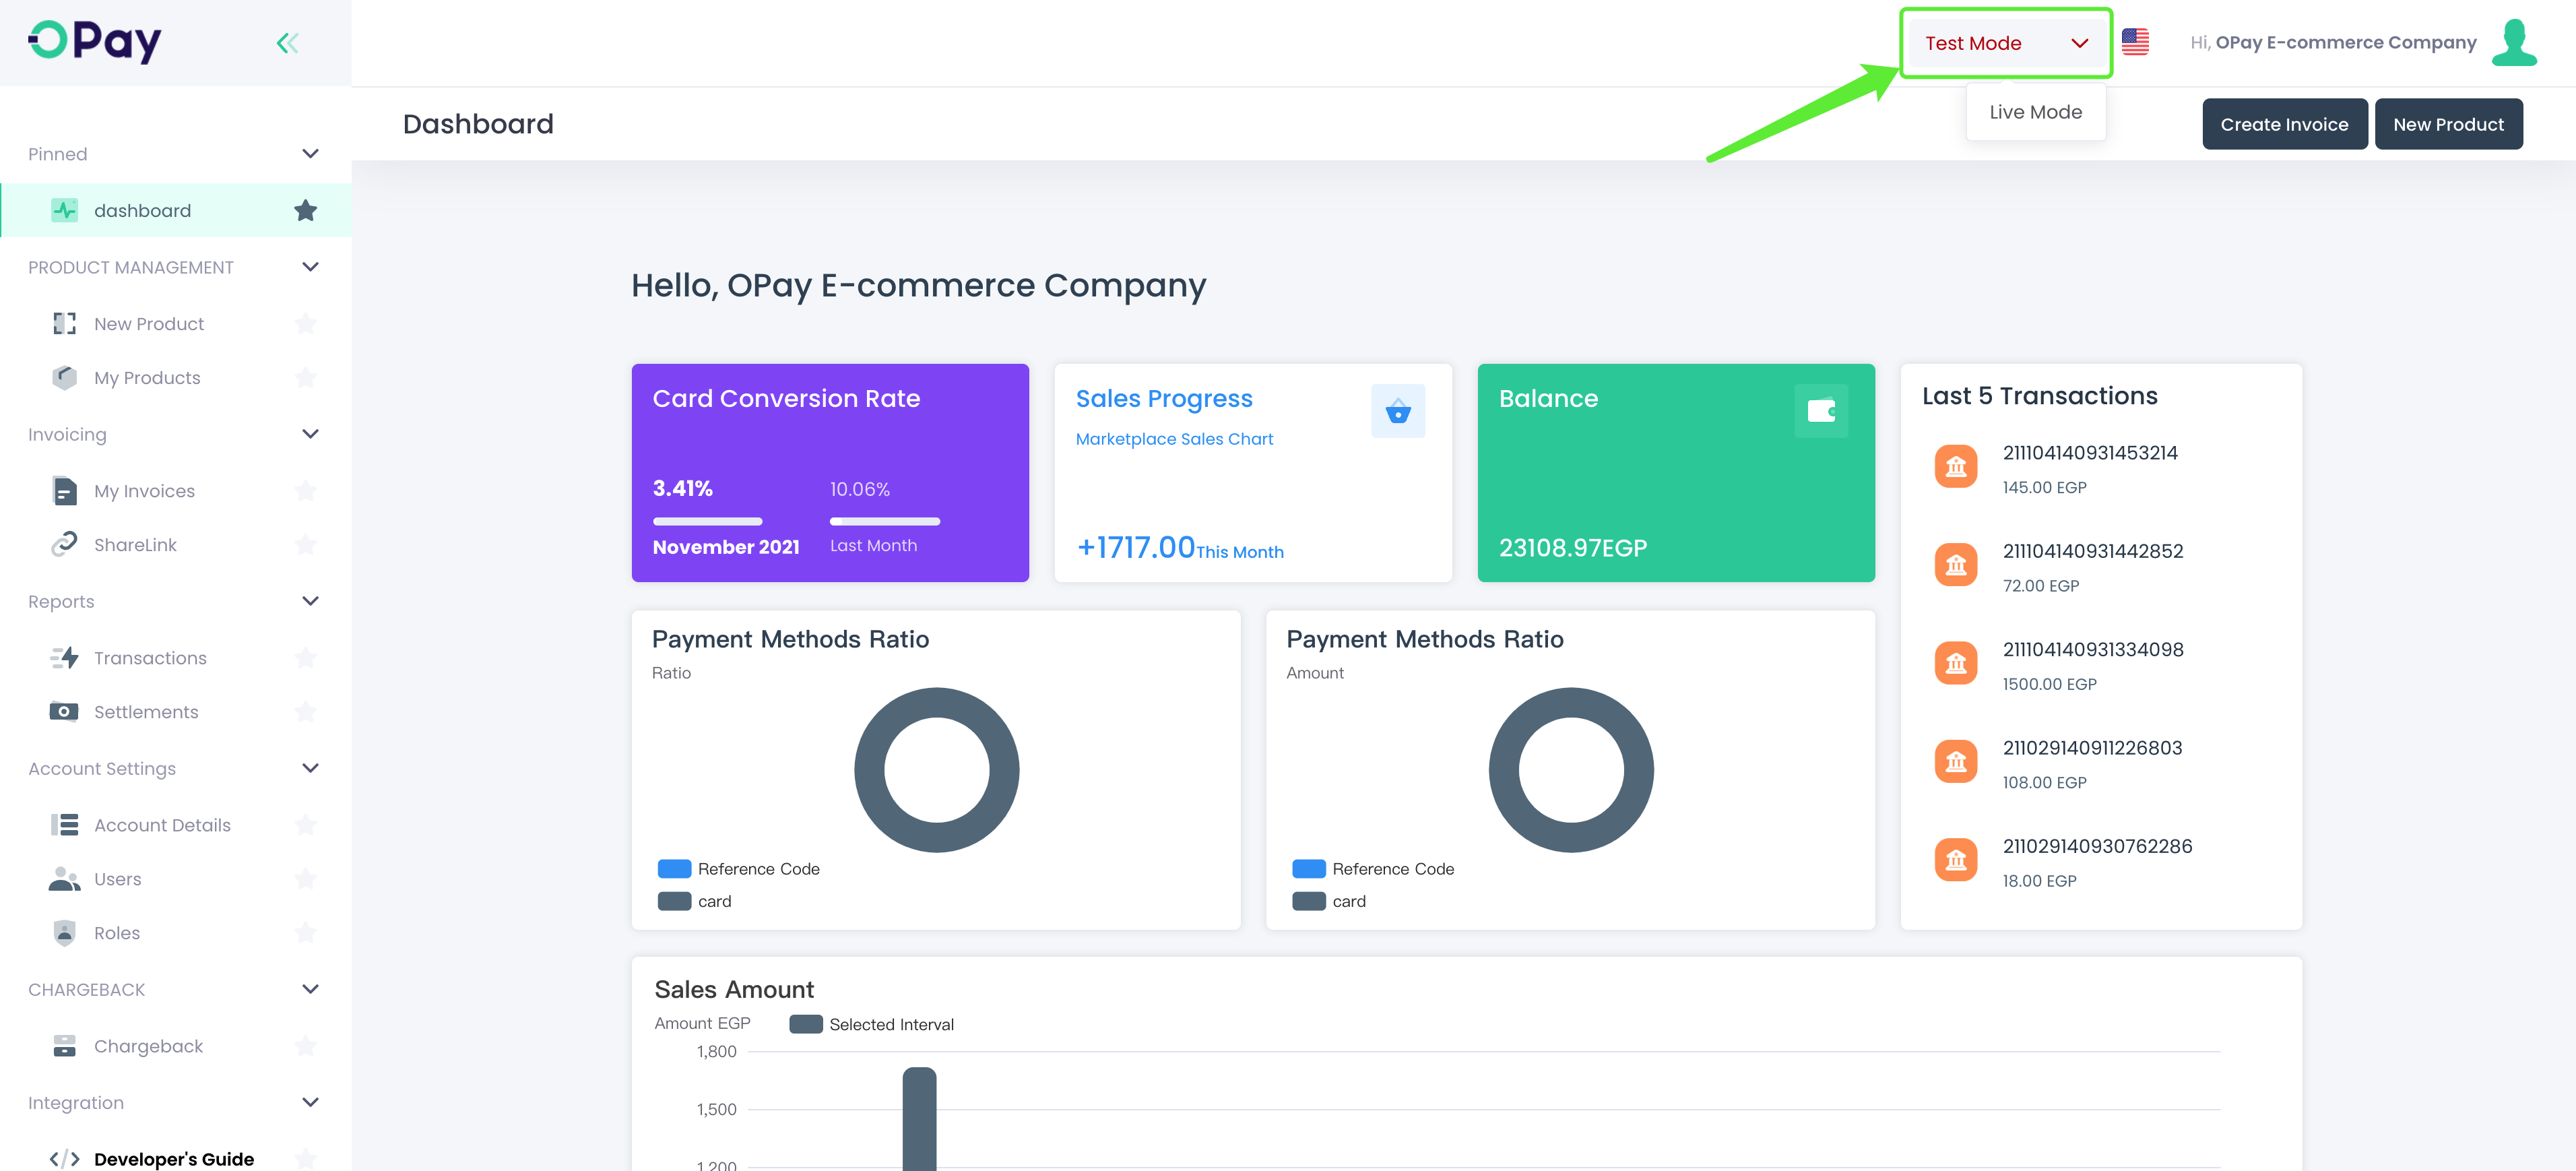
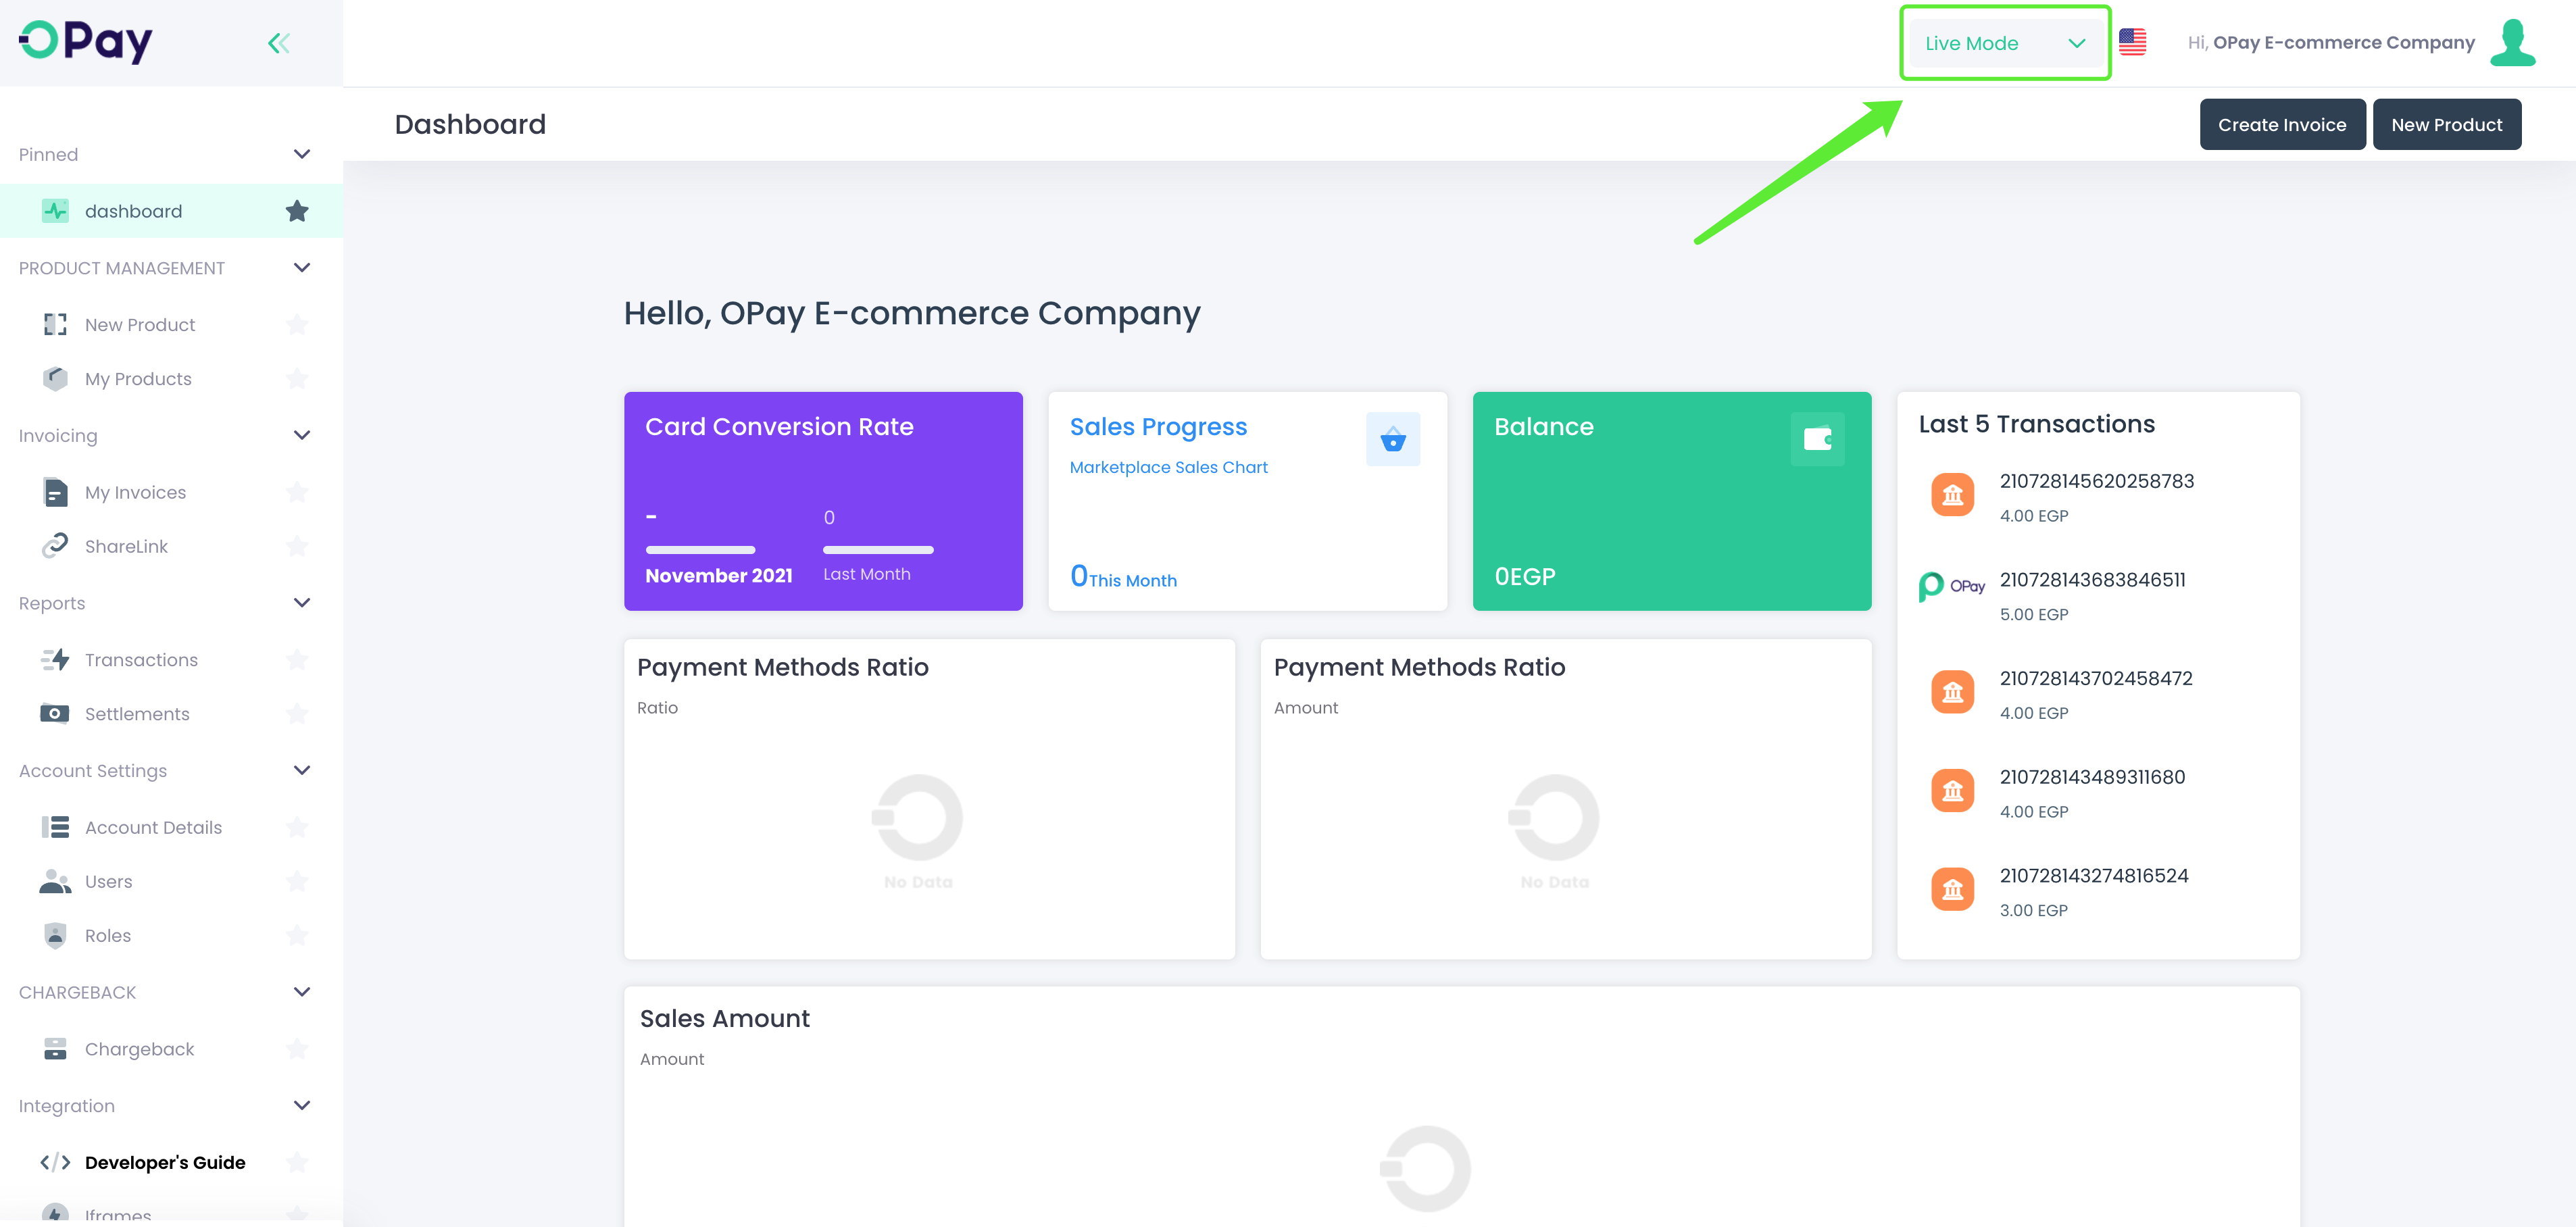
Merchant ID,Secret Key,Public Keyfor sandbox/production environmentAs shown in the figure below:Log in OPay account, switch to sandbox environment (Test Mode):
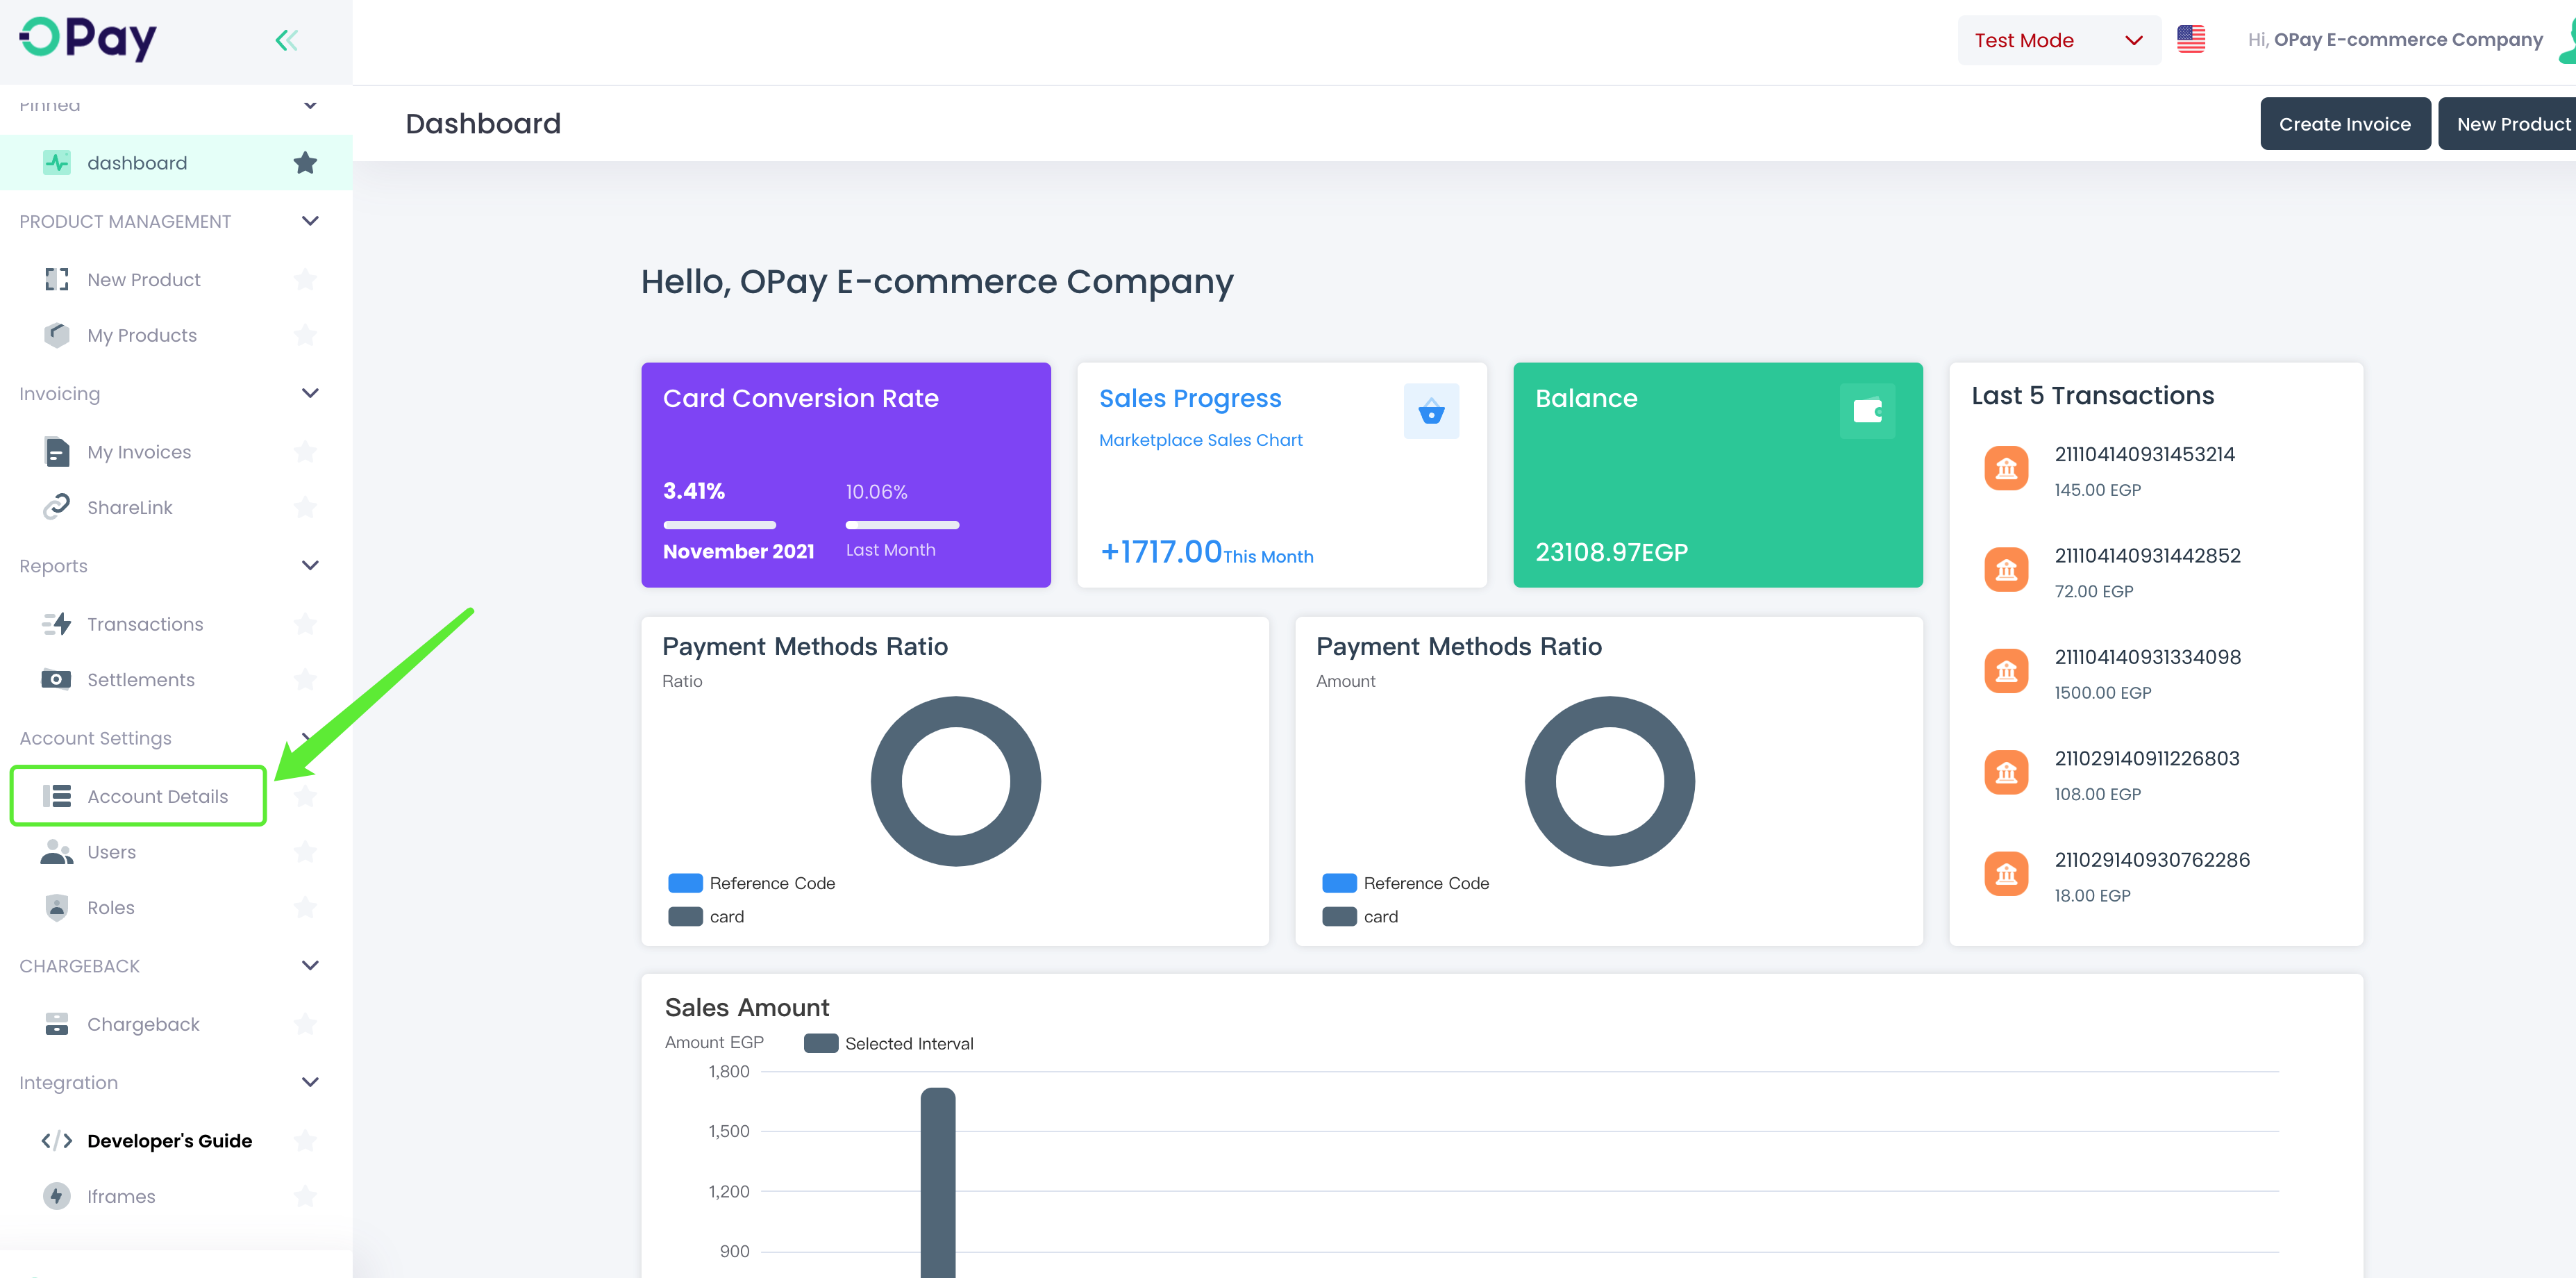
- Click on
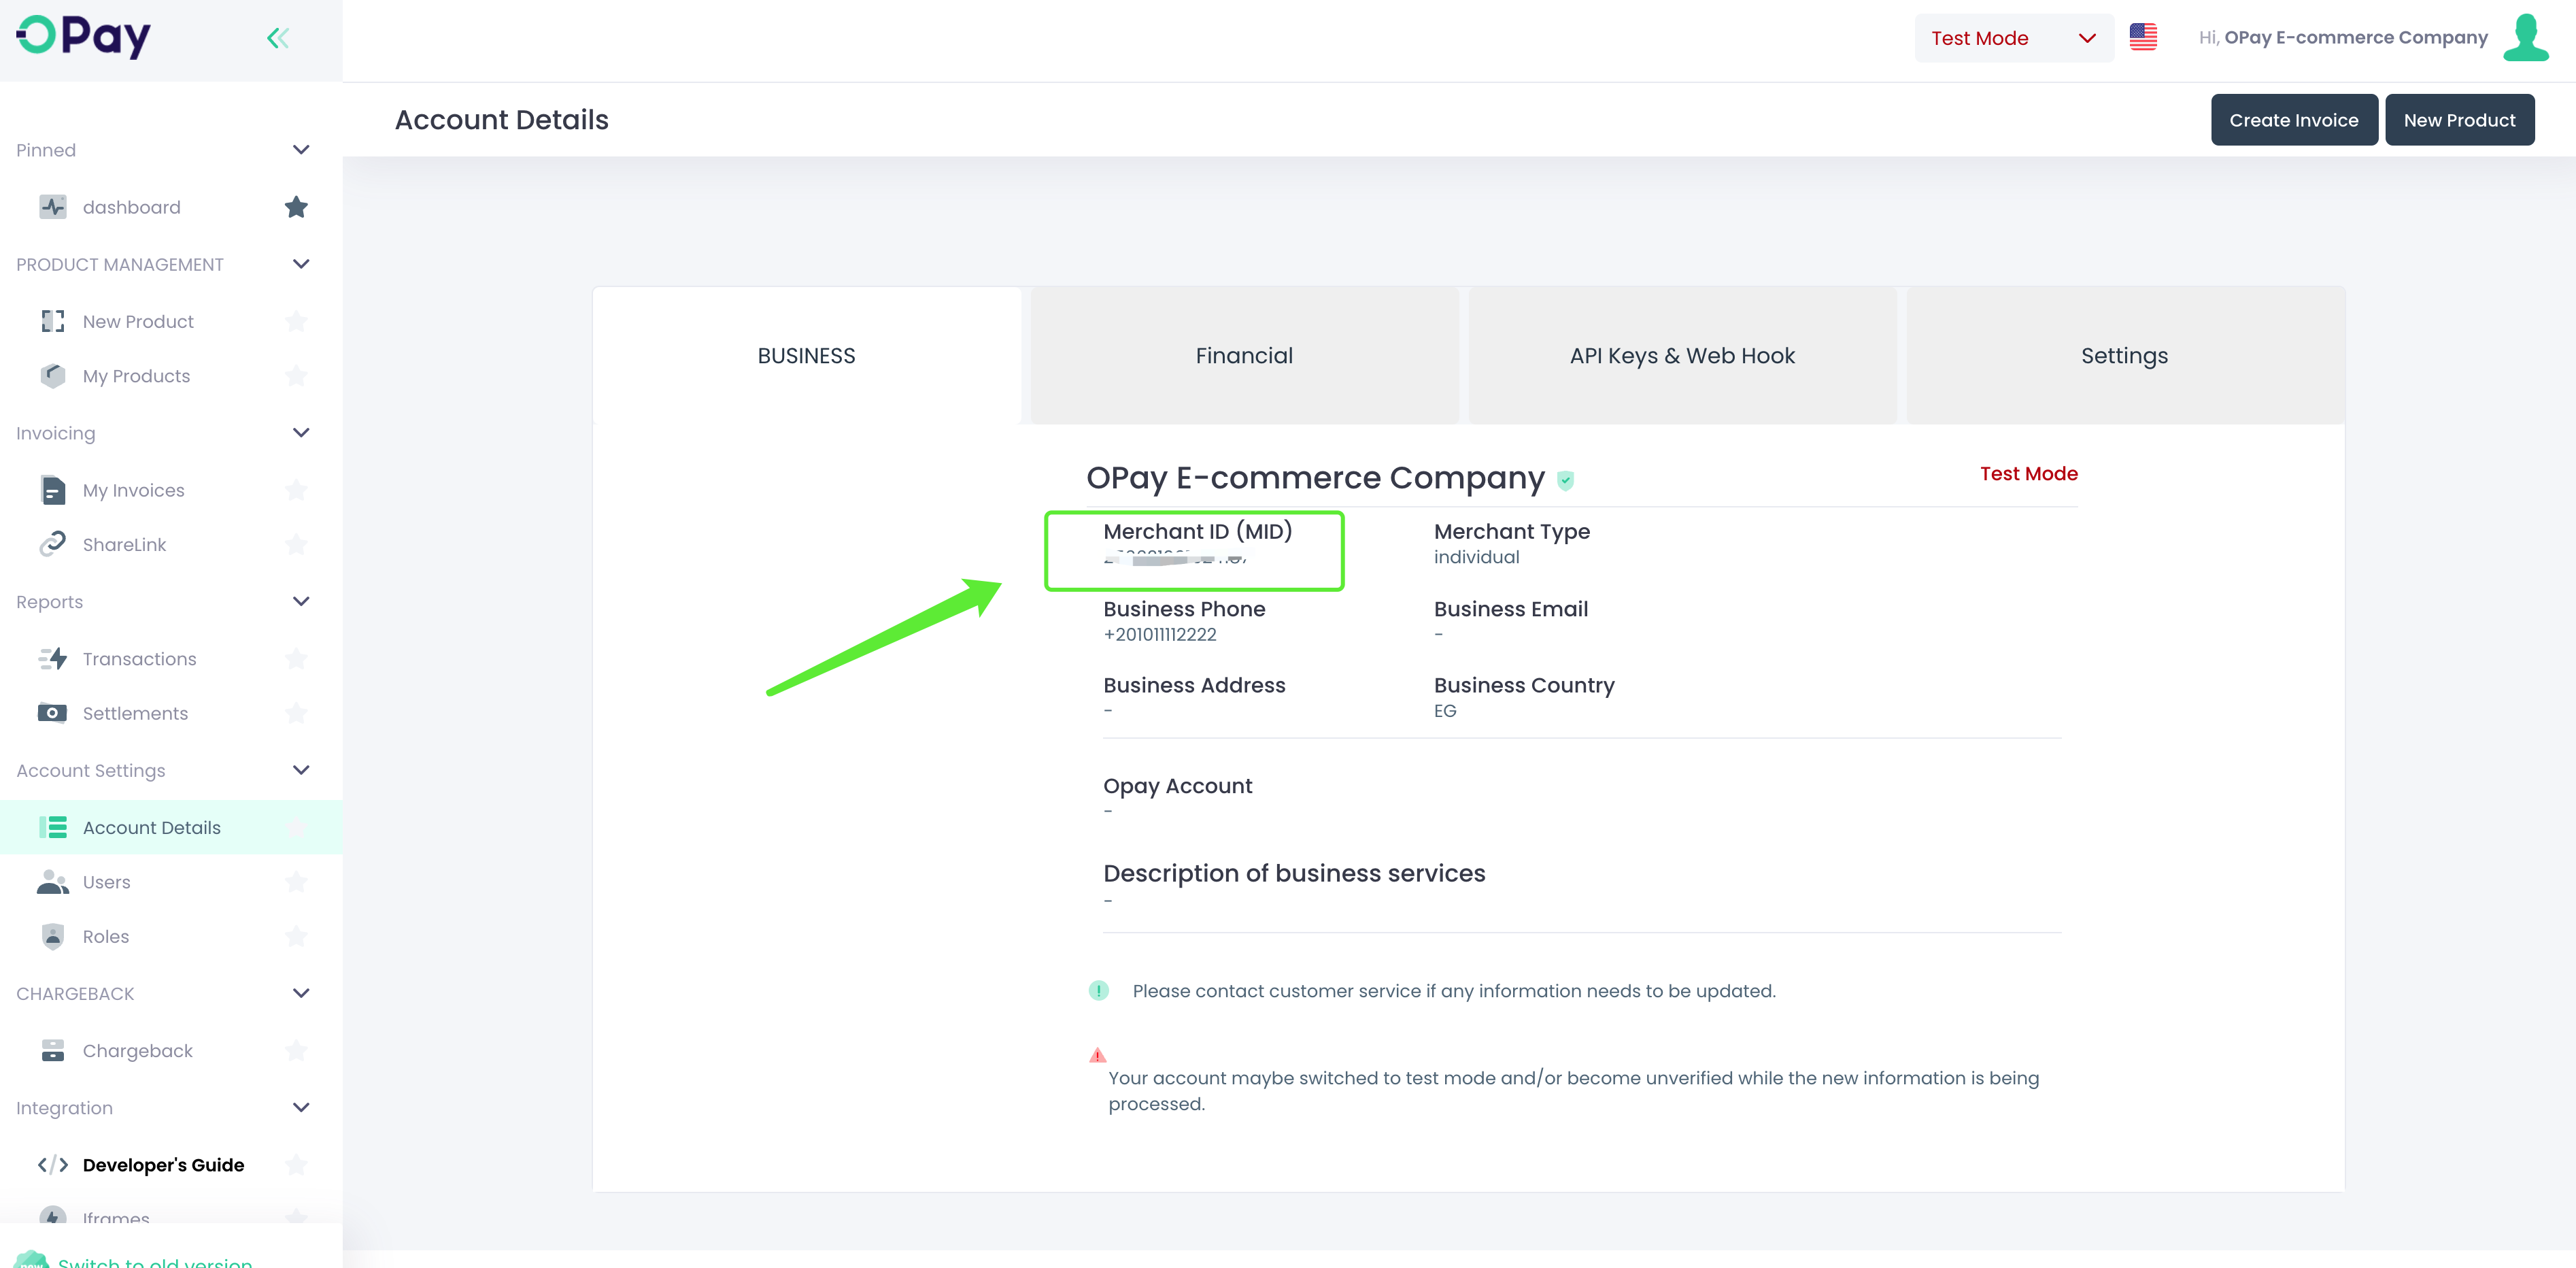
Account Details: Merchant IDis shown as below:- Please click
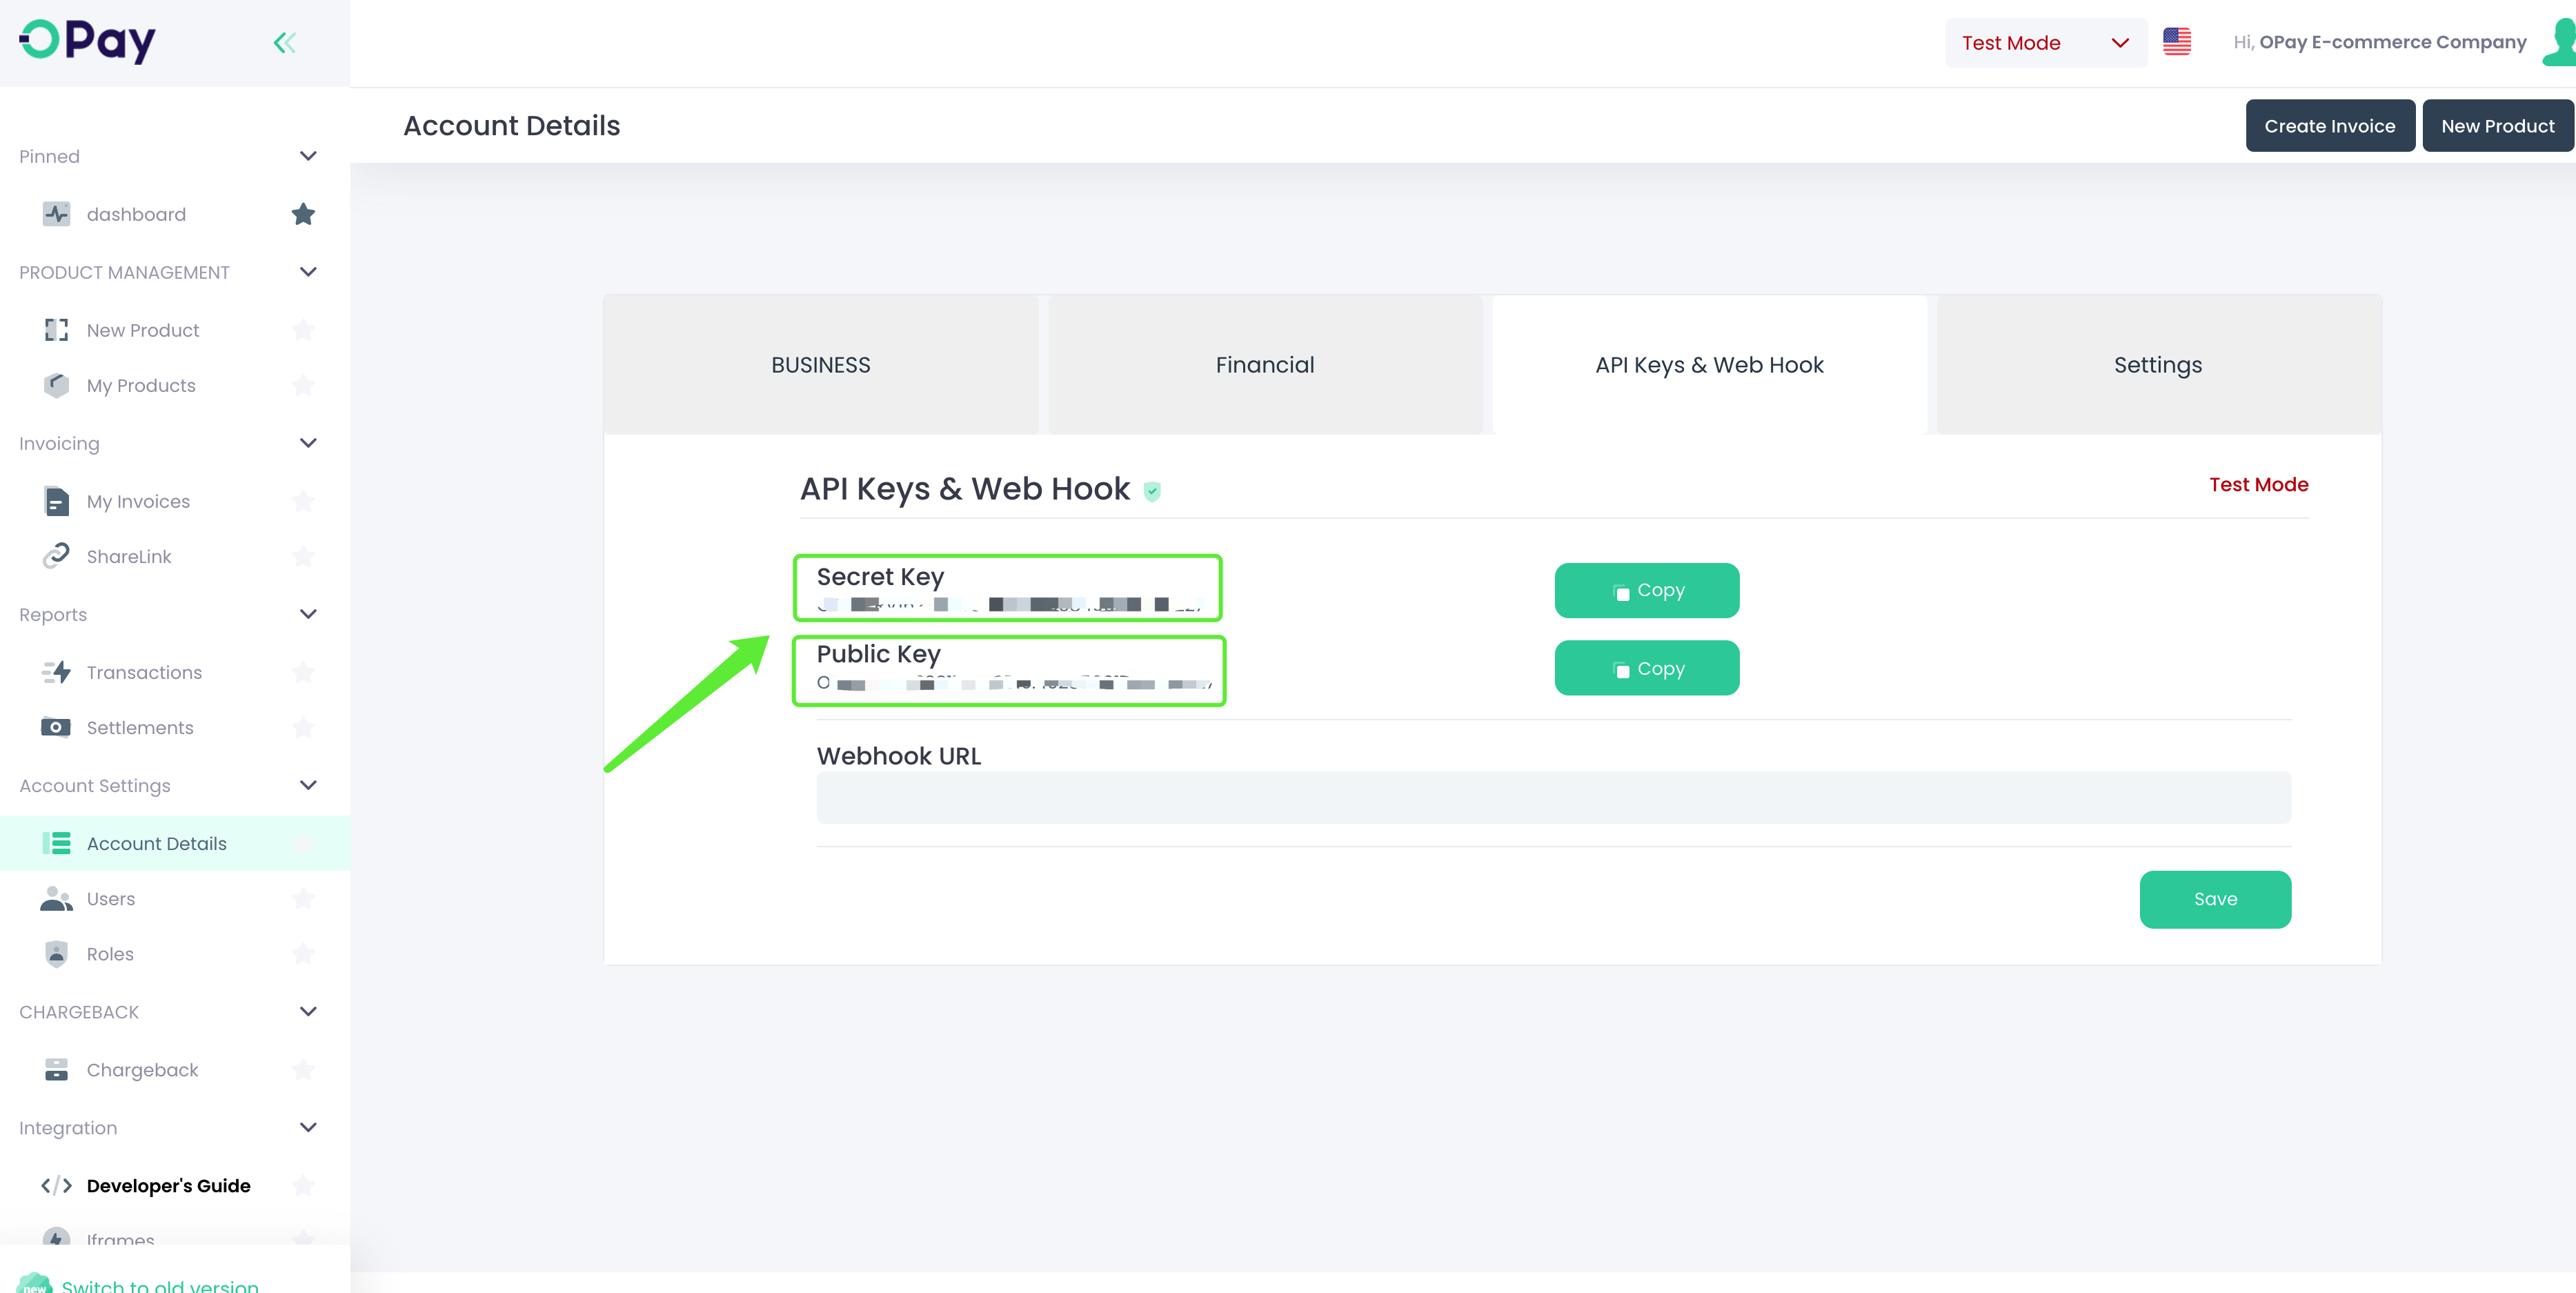
API Keys & Web Hookto access Secret Key and Public Key: - To get
Merchant ID,Secret KeyandPublic Keyfor production environment, please switch toLive Modeand repeat the above three steps: - Well done! Now you're ready to setup your PrestaShop store to start accepting payments through OPay.
Store Setup
This section illustrates the steps you need to follow to configure your PrestaShop store.
- Login to your PrestaShop store admin panel.
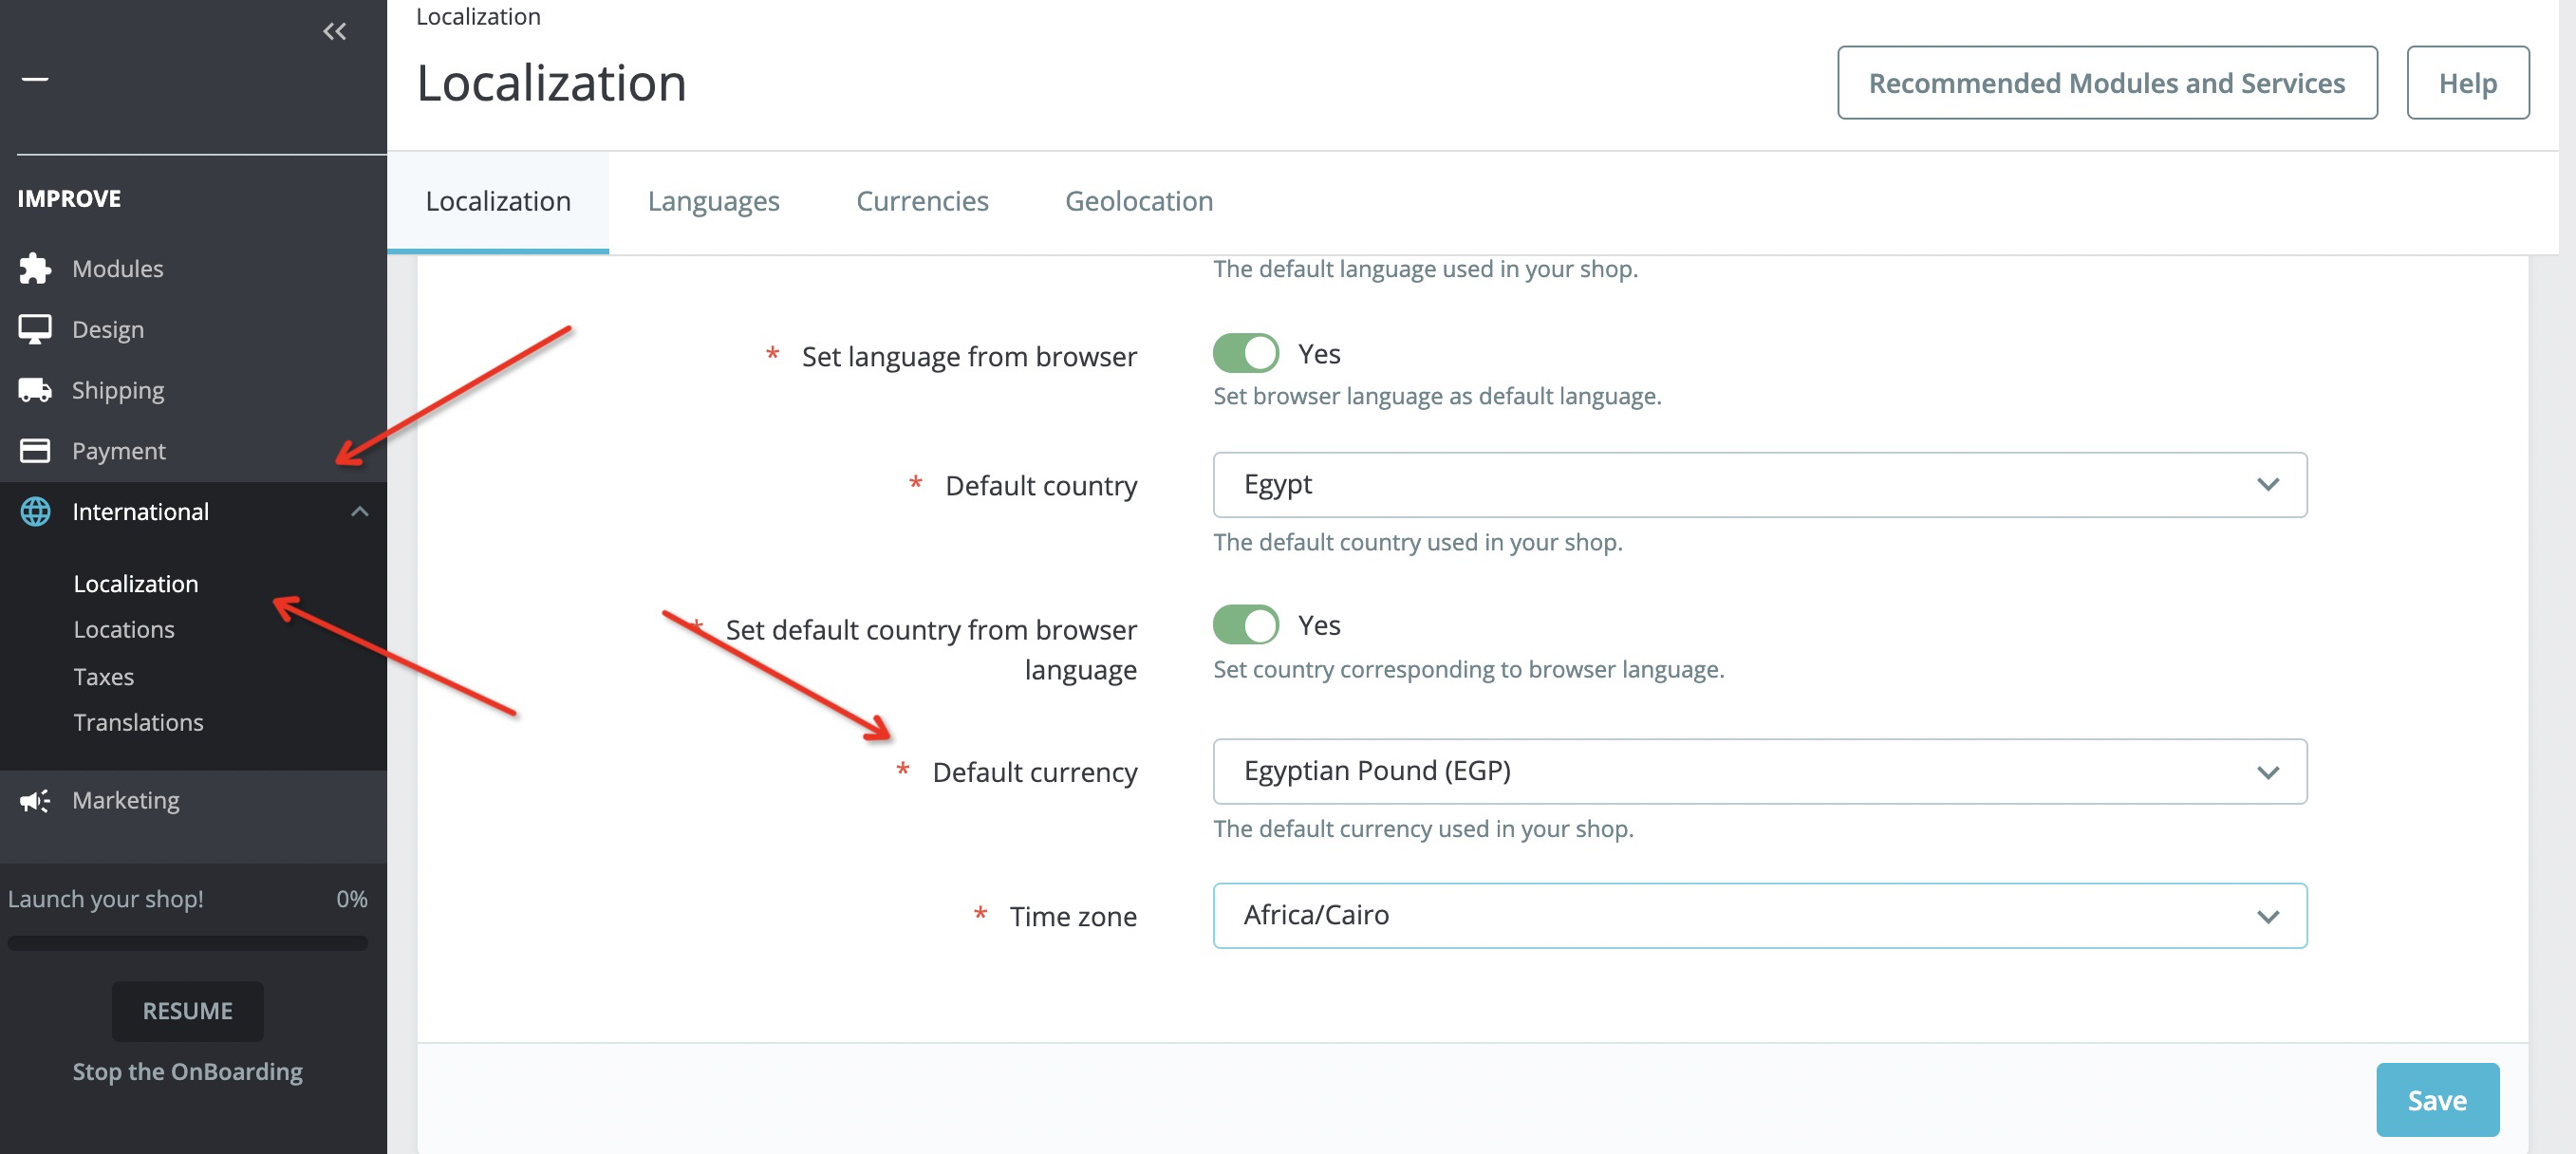
- After entering the
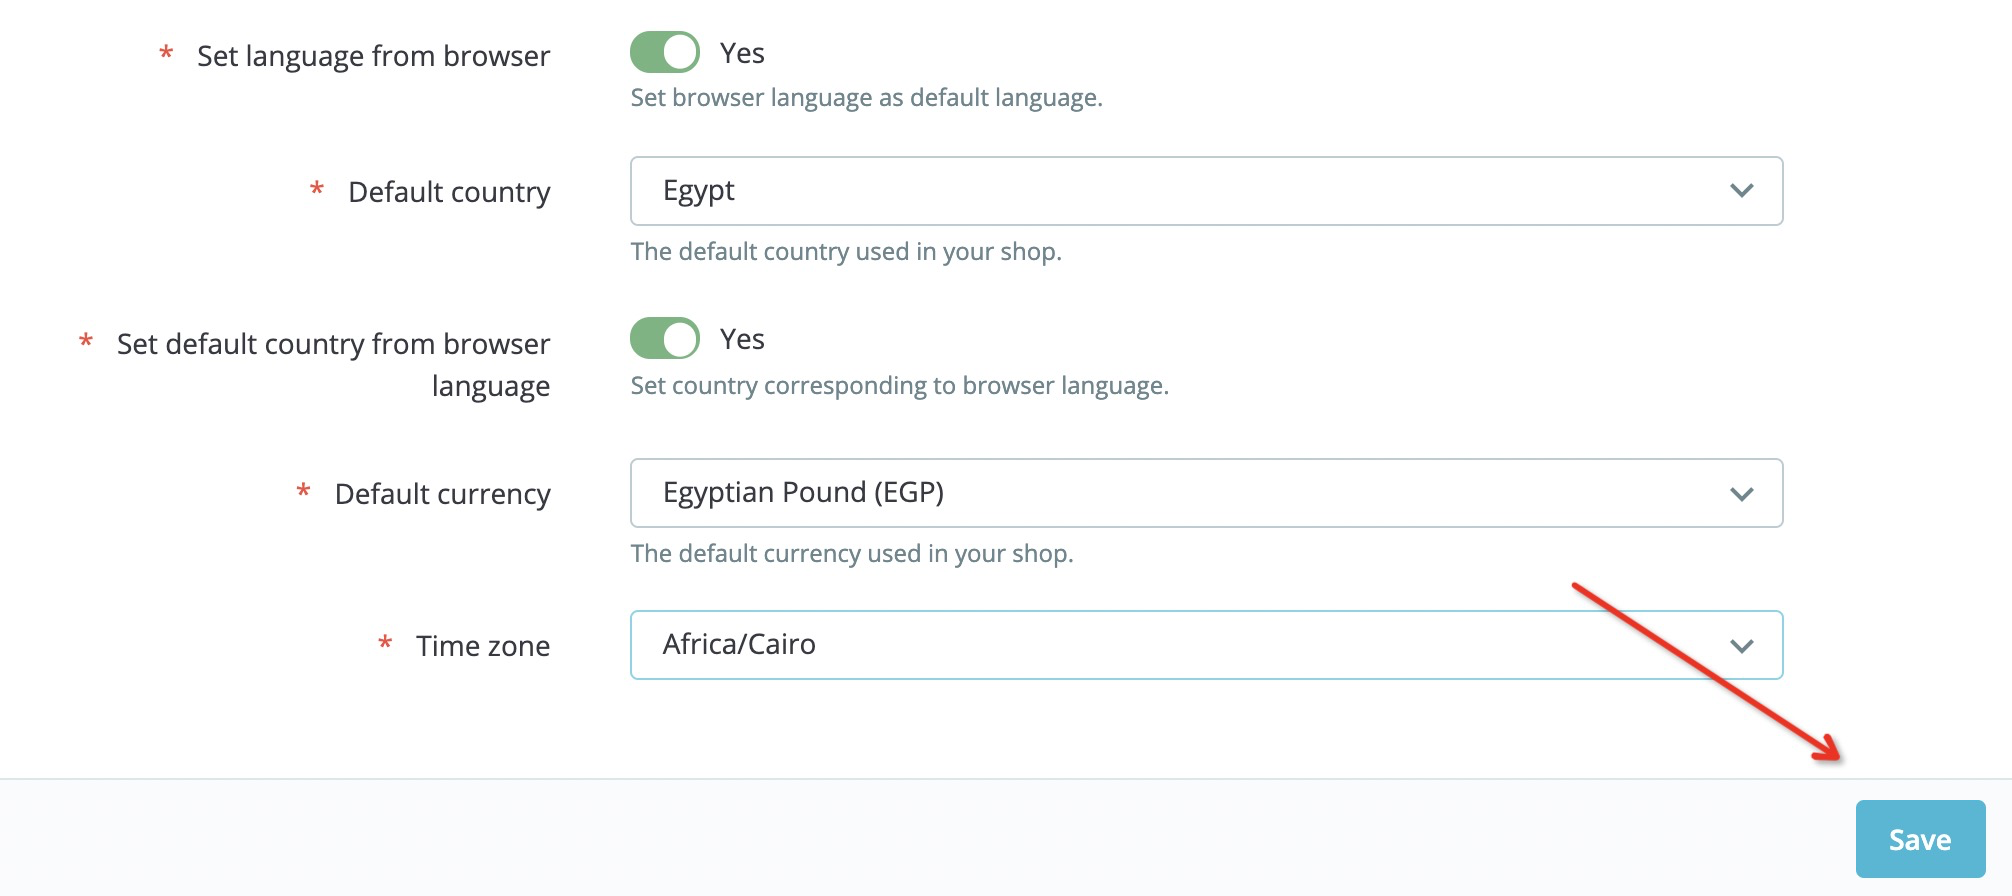
Editing Page, click"Localization"to select the basic information such asCountryandCurrency: - After selecting the basic information, click the
"Save"button:
Your PrestaShop store is now set up!
The store country and monetary unit set up in the PrestaShop must be consistent with the Merchant ID belongs country.
Installation
After completing the configuration, please follow the steps below to install OPay's PrestaShop plugin.
- the plugin.
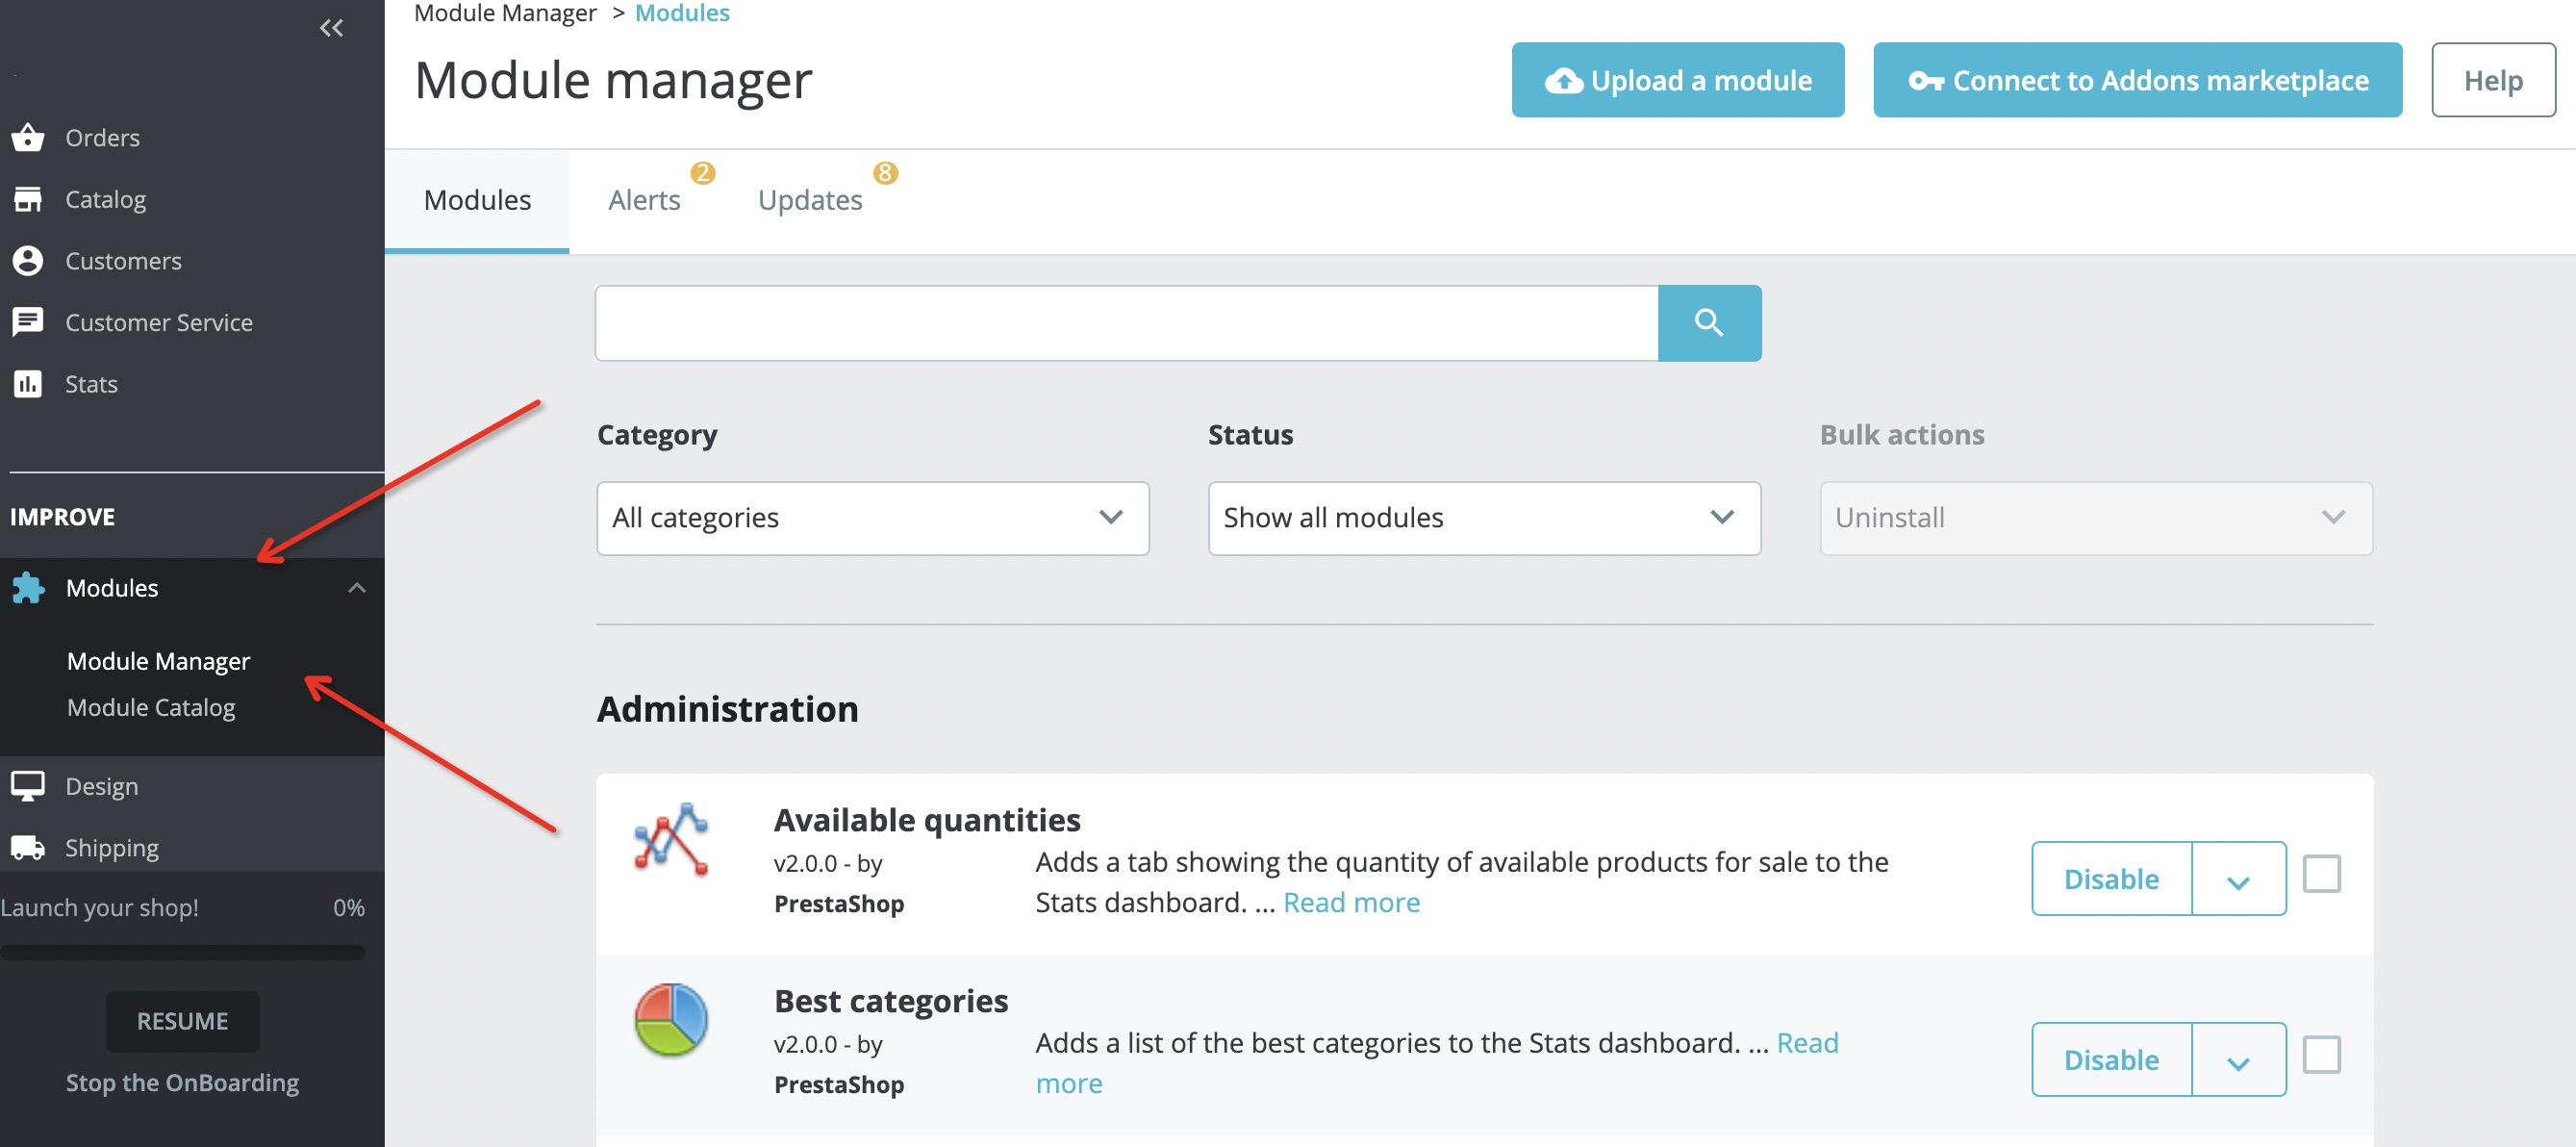
- Click on the
modules-> module managerto enter the installation page: - Click the
"Upload a module"button to upload the OPay payment plugin zip compression package (after the upload, the installation is completed): - The figure indicates the completion of the installation:

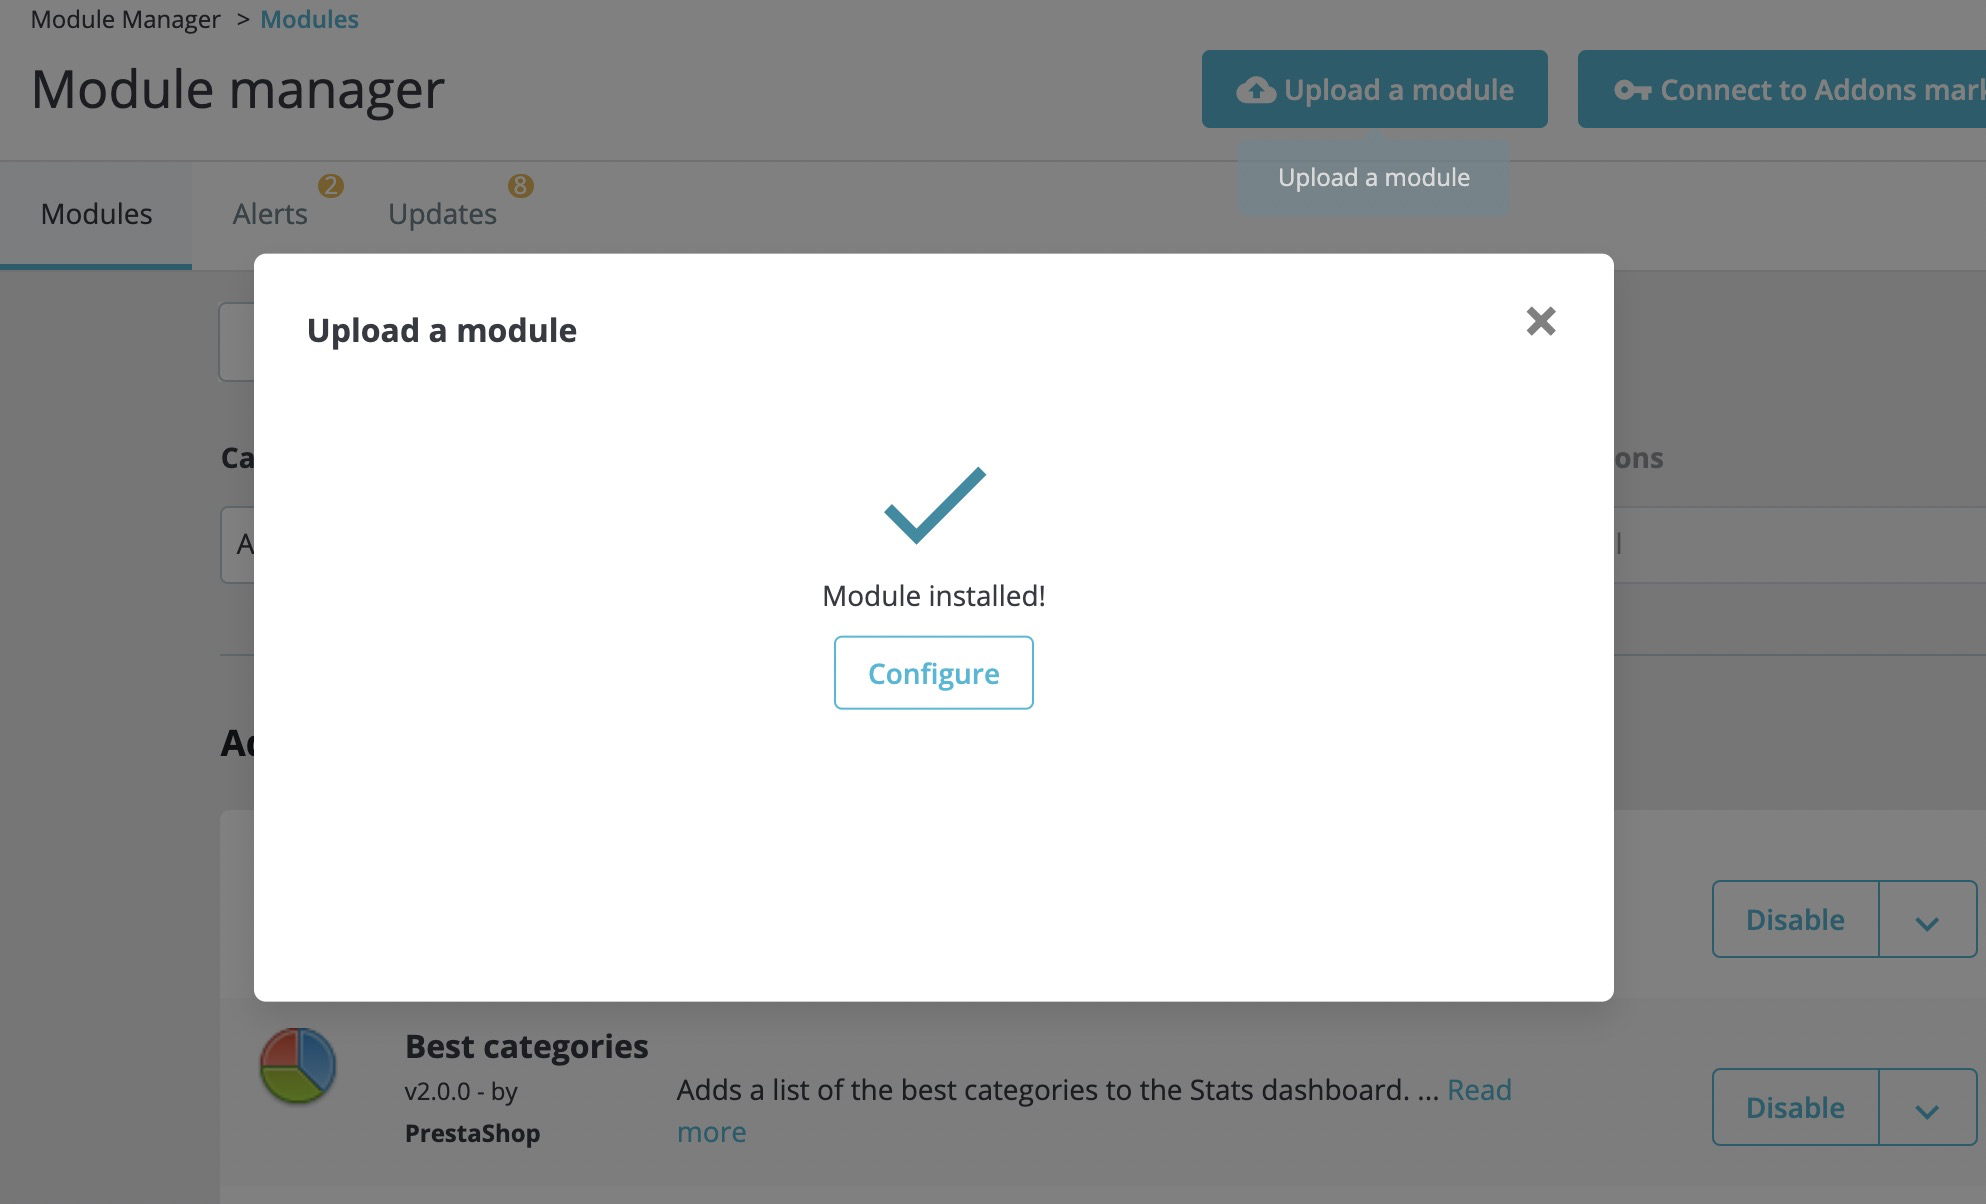
You've successfully installed the OPay PrestaShop plugin!
Configuration
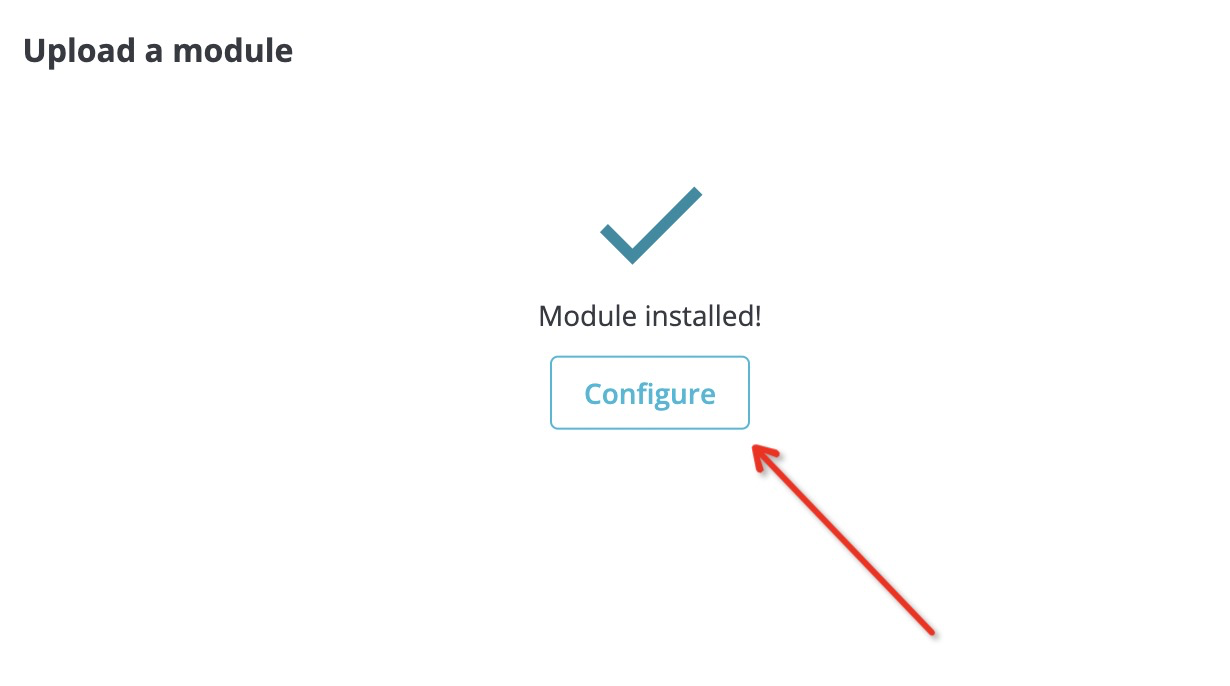
- Click the
Configurebutton of the installed pop-up box to enter the extended configuration page: - Close the
production environment. Payment Method corresponds to three payment methods: Bank Card, Reference Code and Shahry - Bank Card
- OPay Reference Code
- Shahry
- ValU
- Mobile Wallet
- Bank Installment
- Click the
"Save"button after completion
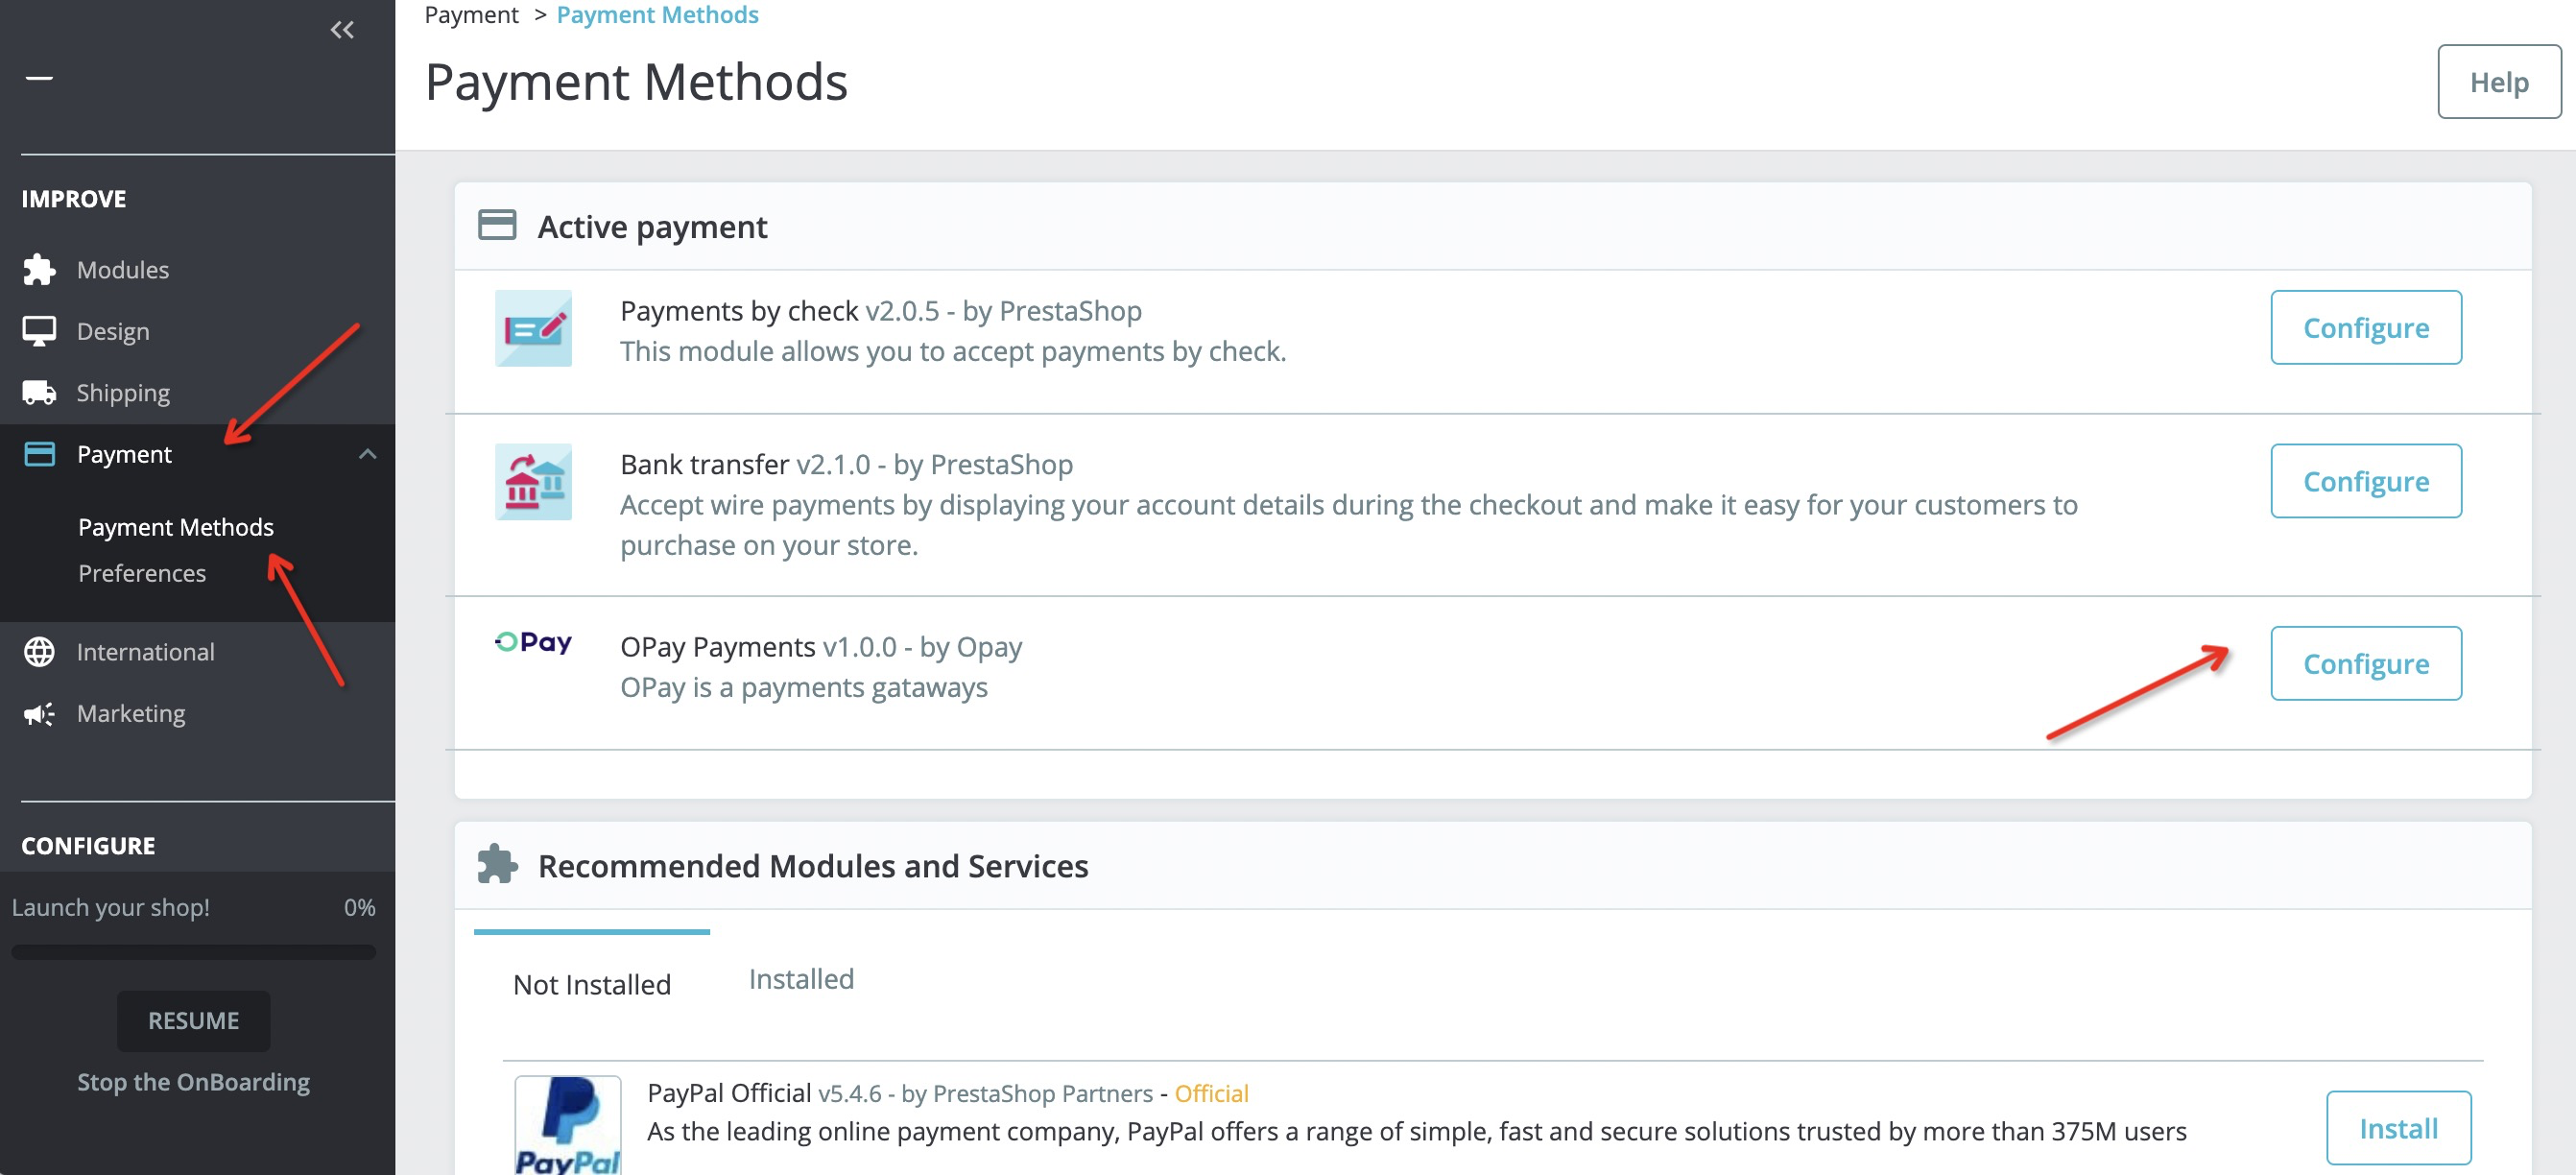
You also could click on Payment-> Payment methods, you can see the OPay, click on the
Configure button
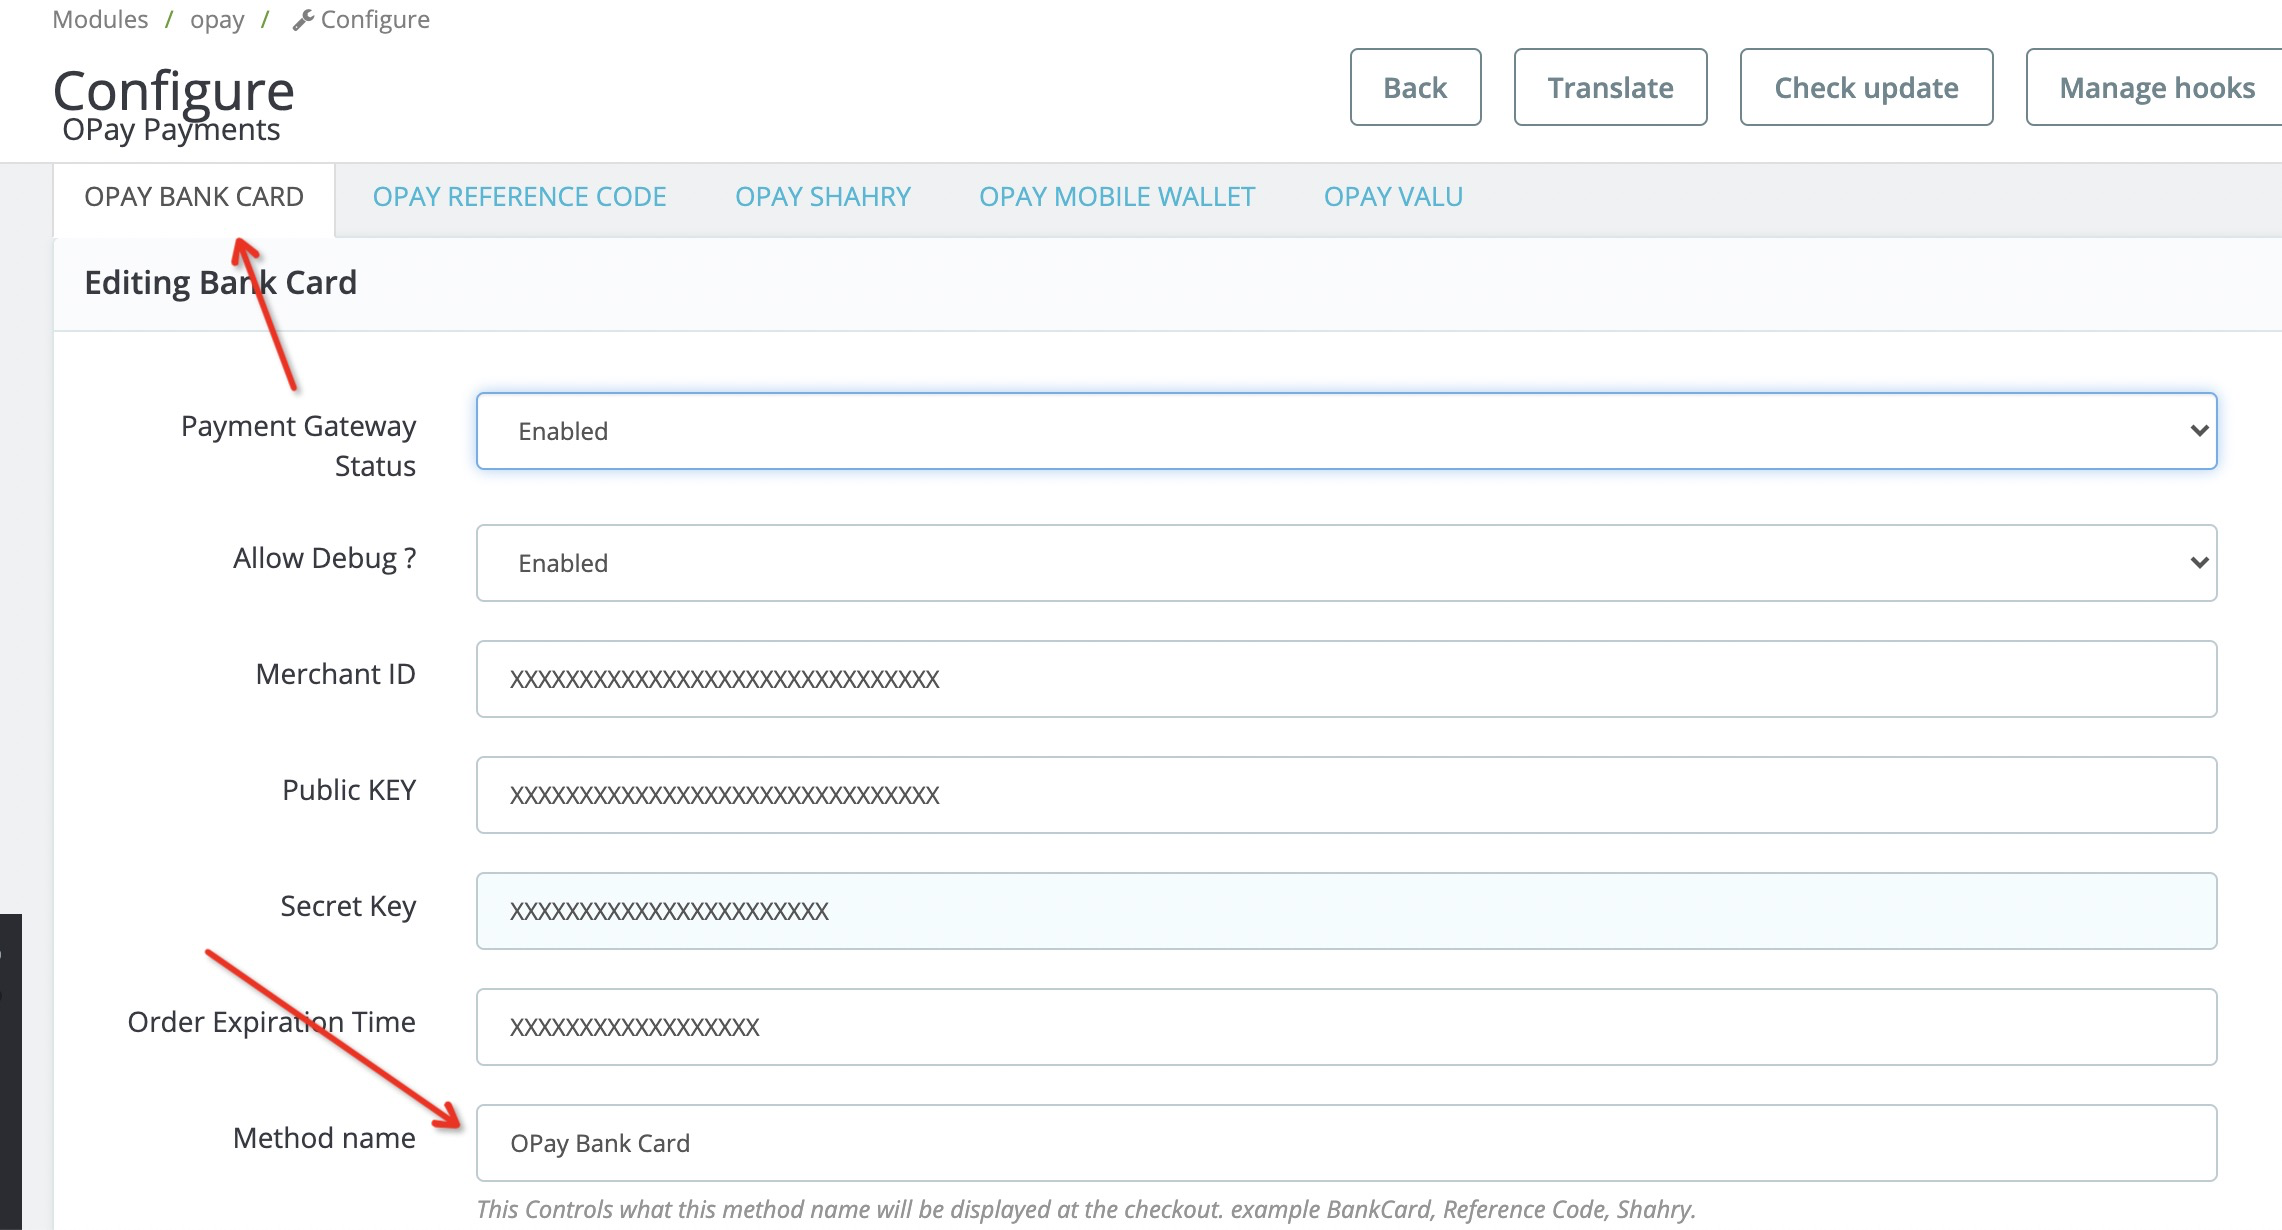
Supported payment methods:
| field | description | example |
|---|---|---|
| Payment Gateway Status | Control whether OPay can be used as a checkout payment status | Enabled/Disabled |
| Allow Debug ? | Enable in case you are still in development phase. Disable debug when turning into production mode. | Enabled/Disabled |
| Merchant ID | Your merchant ID you should have received it after creating an account. Set to your test merchant ID for testing, meanwhile, change for live merchant ID to start production mode. | 256612345678901 |
| Public Key | Your Sandbox Public key you should have received it after creating an account. Set to your test public key for testing, meanwhile, change for live public key to start production mode. | Public Key |
| Secret Key | Your Sandbox Secret key you should have received it after creating an account. Set to your test secret key for testing, meanwhile, change for live secret key to start production mode. | Secret Key |
| Order Expire Time | Payment expiration in minutes. | 30 |
| Payment Method | The name to be displayed for your customers for this payment method. | OPay Payments (Bank Card) |
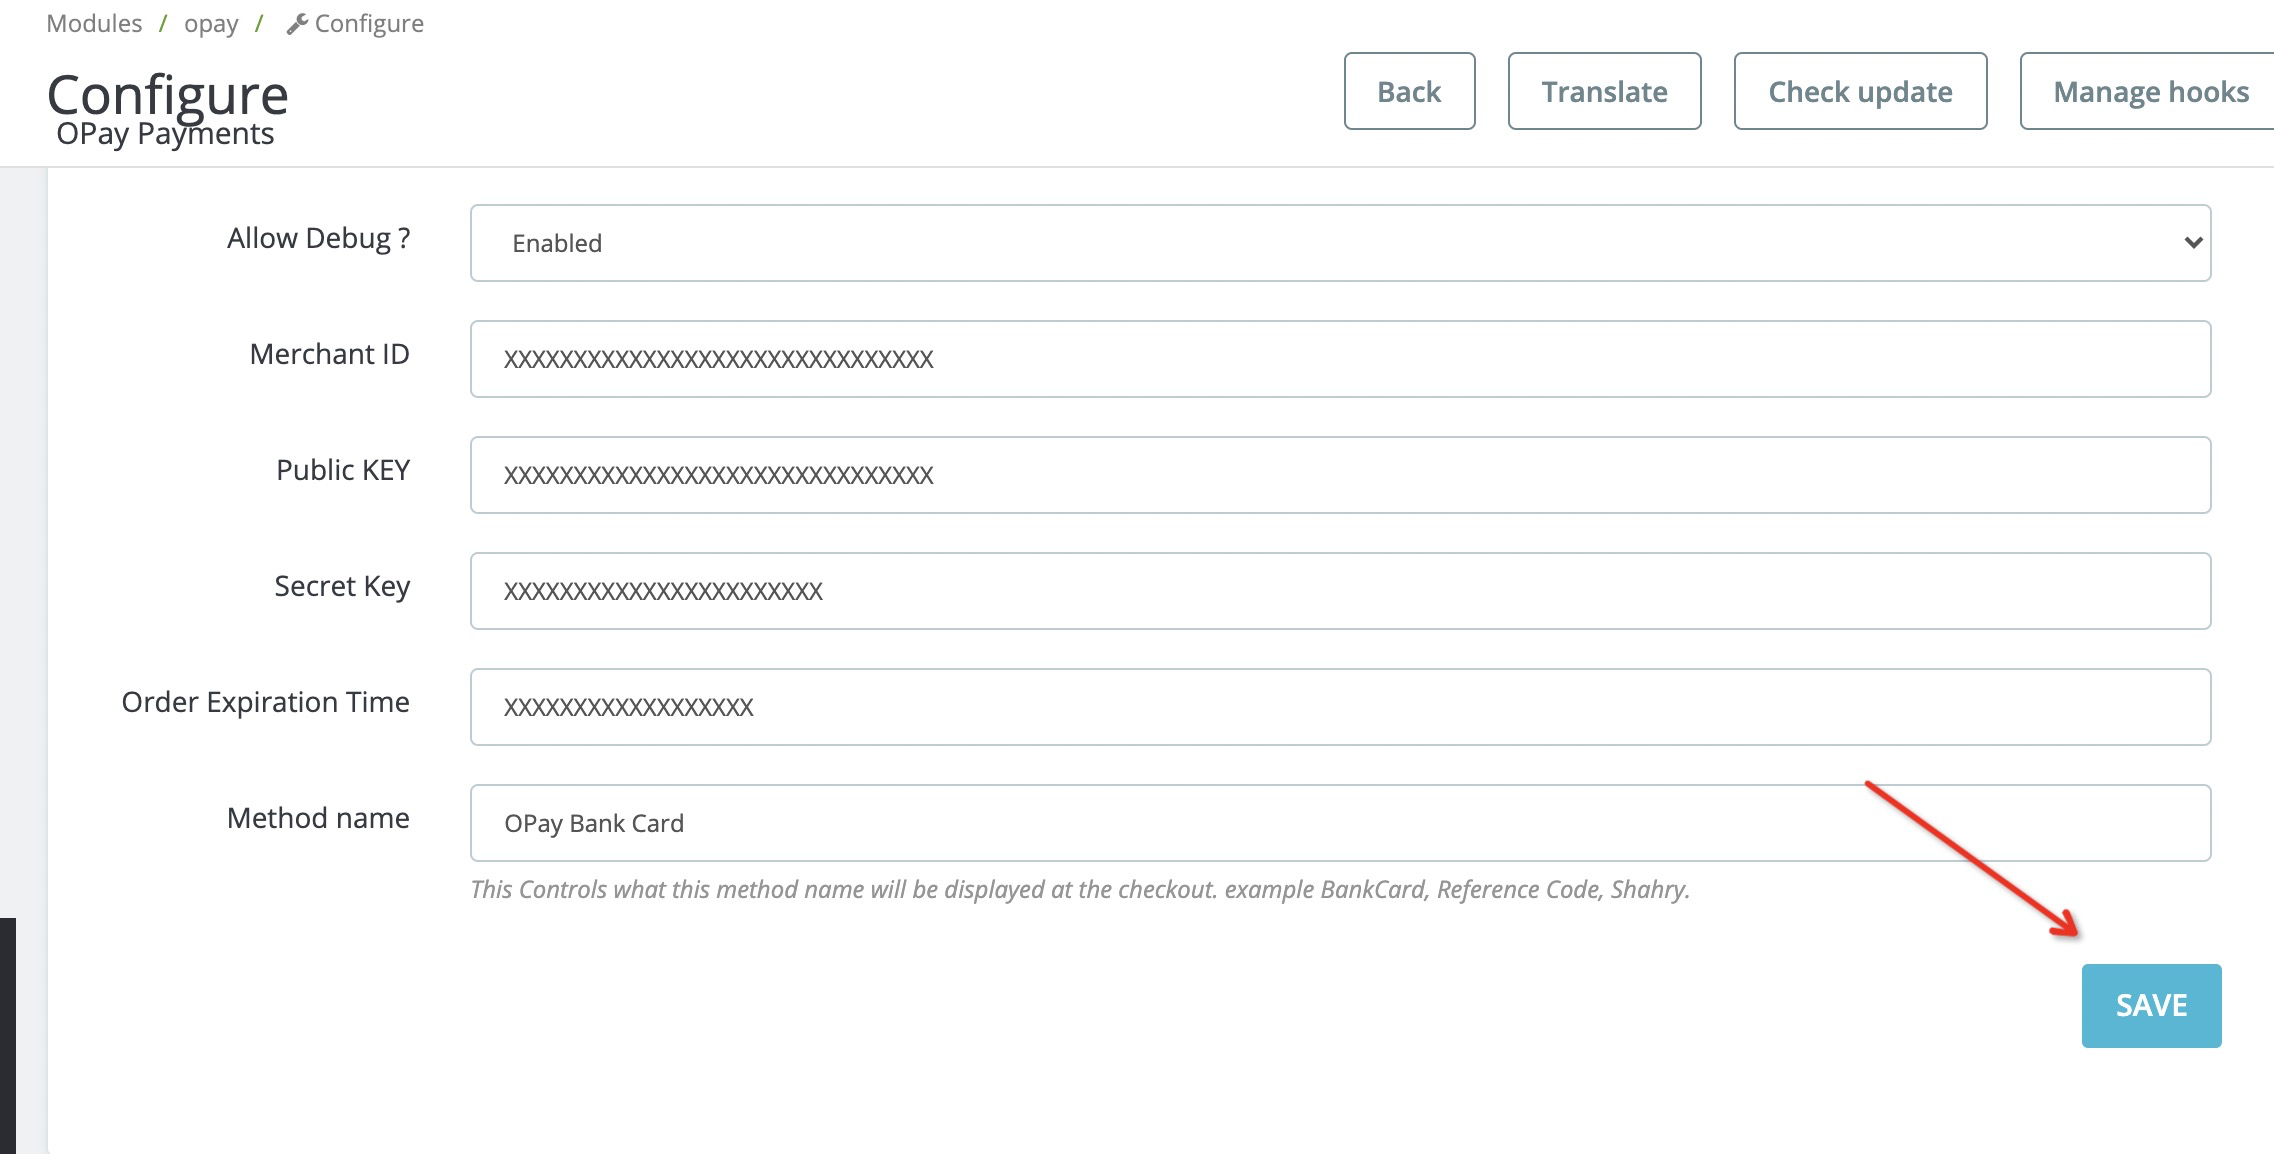
The OPay payment component installation is fully configured!


